by Bio Cosplay
With the recent release of Fallout 76, players can navigate the dystopian wasteland of West Virginia and fend off enemies with a multitude of weapons in their quest to survive. In this tutorial you’ll learn how to create a prop replica of a staple to the Fallout series, the 10mm pistol, made from foam.
Materials and Tools needed for this build:
1/2″ EVA foam
1/4″ EVA or 6mm craft foam
4mm craft foam
2mm craft foam
Barge Contact Cement
Glue pot/brush for barge
Superglue
Escutcheon pins
Wire
1/2″ CPVC plastic pipe
Dremel or rotary tool with various bits
Extending box cutter/exacto knife
Sharpener (foam dulls your knife very quickly)
Sharpie
Step 1: Reference and Materials
As with most props, you’ll need some reference images. Fallout makes it easy to do this with the option to inspect weapons, which brings up a 3D model that you can rotate around and take screen shots of.  I took multiple screen shots, then used an image of my hand holding an airsoft gun to scale the gun in GIMP. Then I made my blueprint in Inkscape. For those who are interested, the blueprint is available on etsy at http://etsy.me/1R4wdRF.
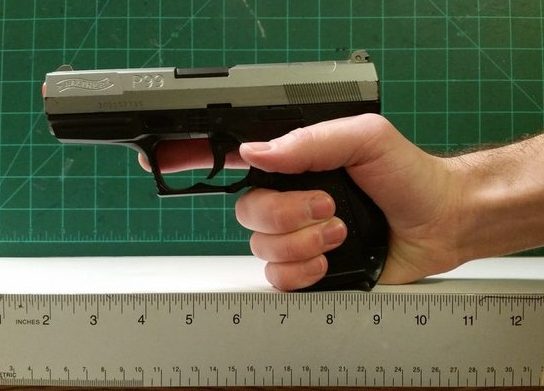
Step 2: Base Structure
After printing out my blueprint, I transferred that to foam. I began with 2 layers of 1/2″ EVA glued together with barge contact cement.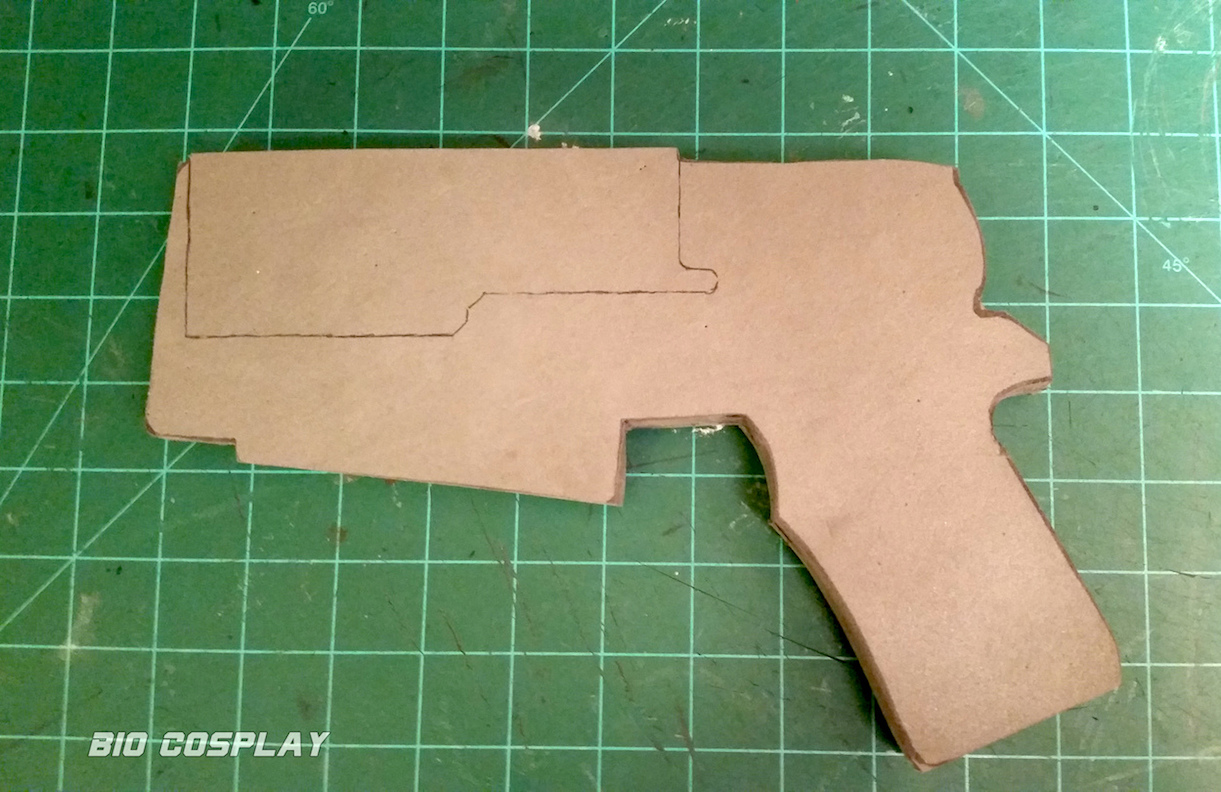
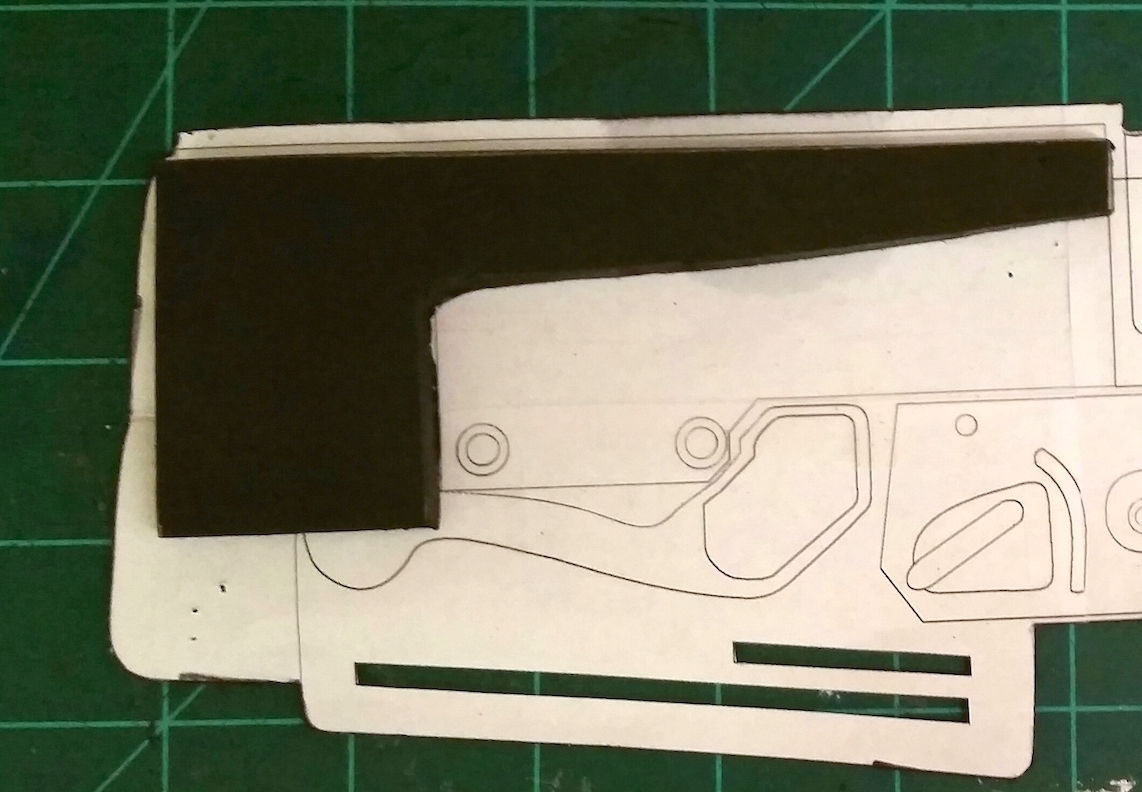

After that I just start adding layers, which vary in size. I use 2mm, 4mm, 6mm, and 1/2 inch foam. Props are like onions, because they have layers and make you cry…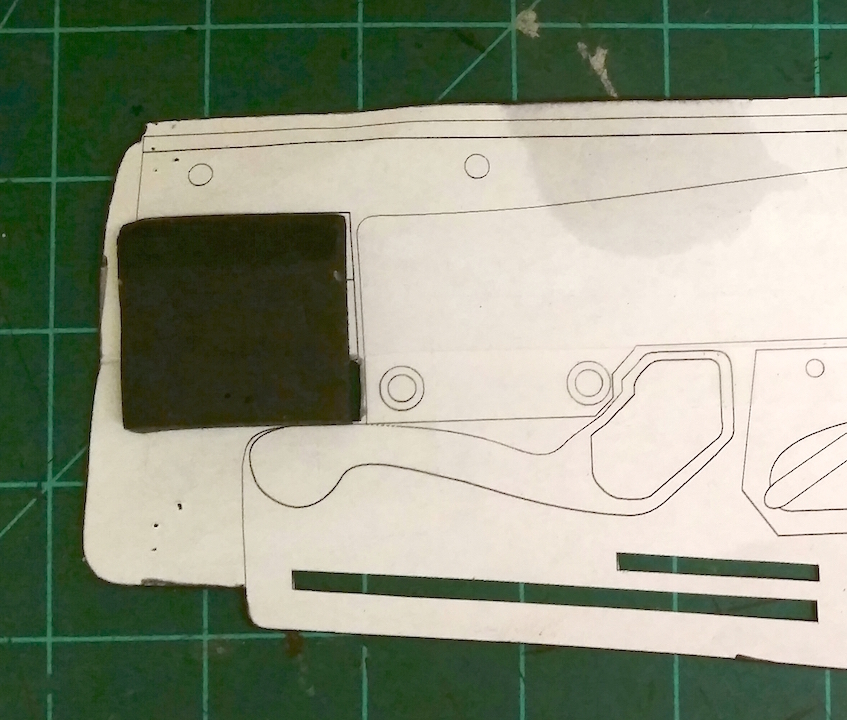

Step 3: Shaping Before Gluing
Some pieces will need quite a bit of shaping with the dremel before gluing them down, since it would be difficult to get the right shape after gluing.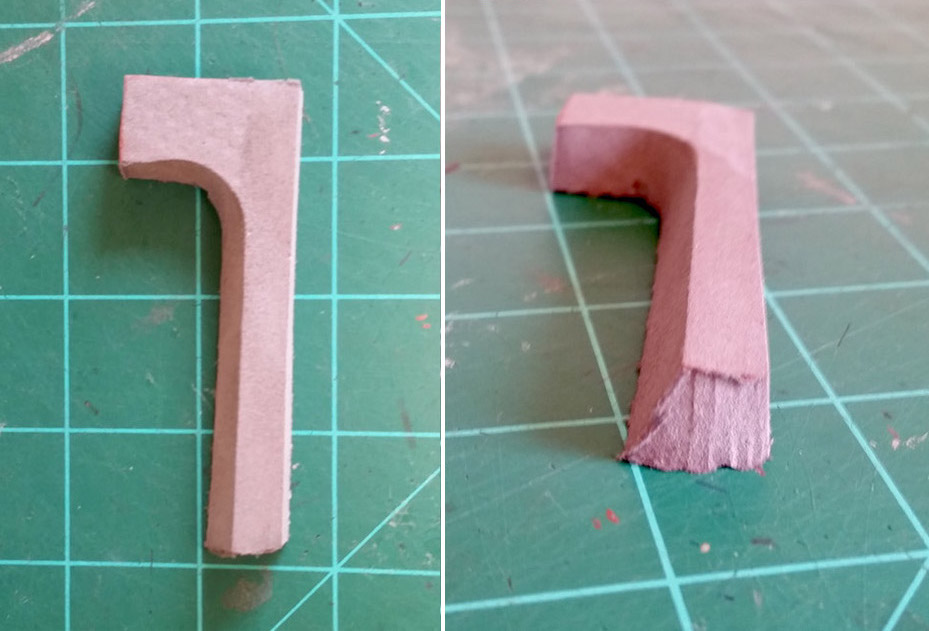
 Once these pieces are glued down, it will be difficult to do any more shaping to them.

 On the grip in particular I used a smaller dremel bit to get it smooth and rounded on the notch at the top.
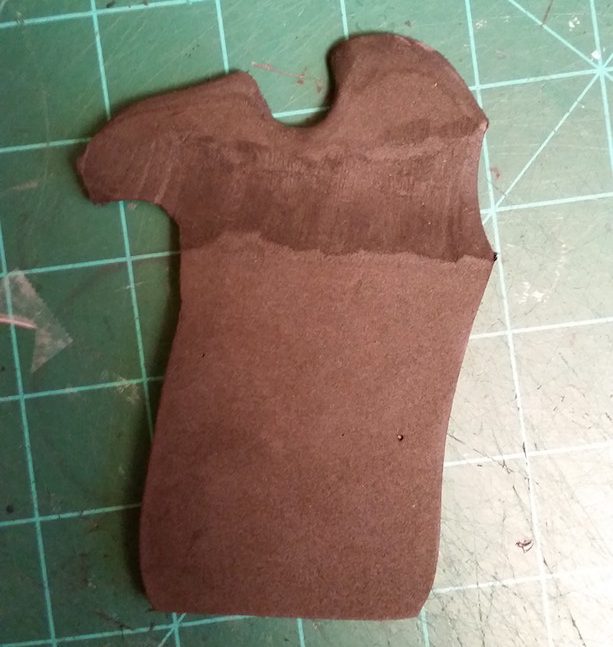
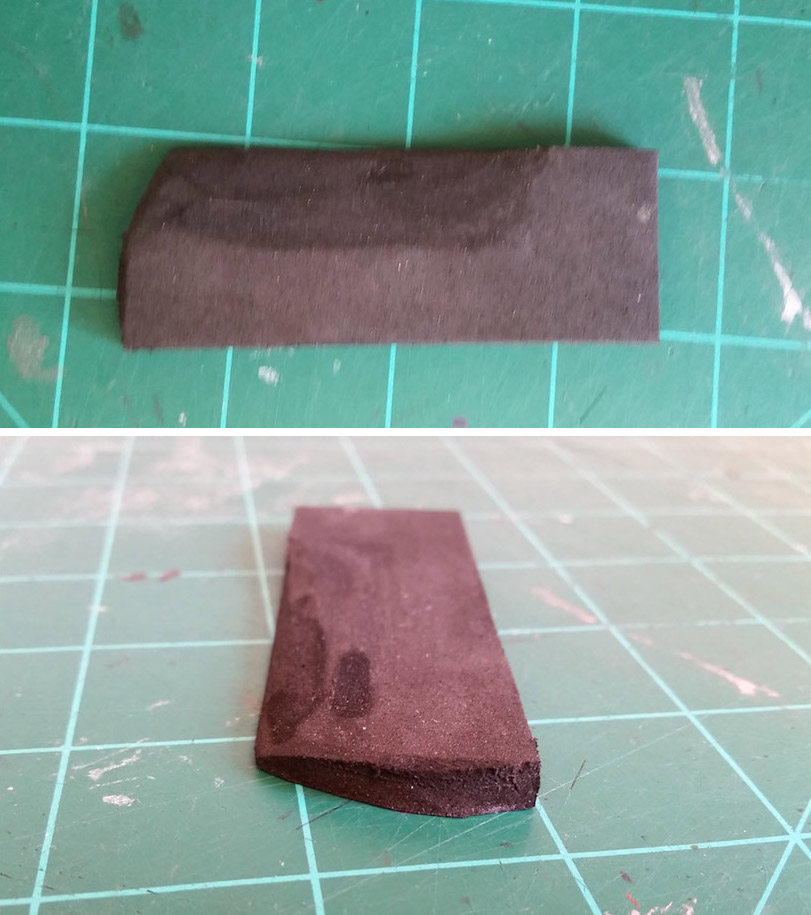
Step 4: Shaping After Gluing
After gluing some more bits and details down, I cut out a notch that’s supposed to be above the trigger guard.
This picture shows the grip glued down, and the following one shows some shaping done on the prop. 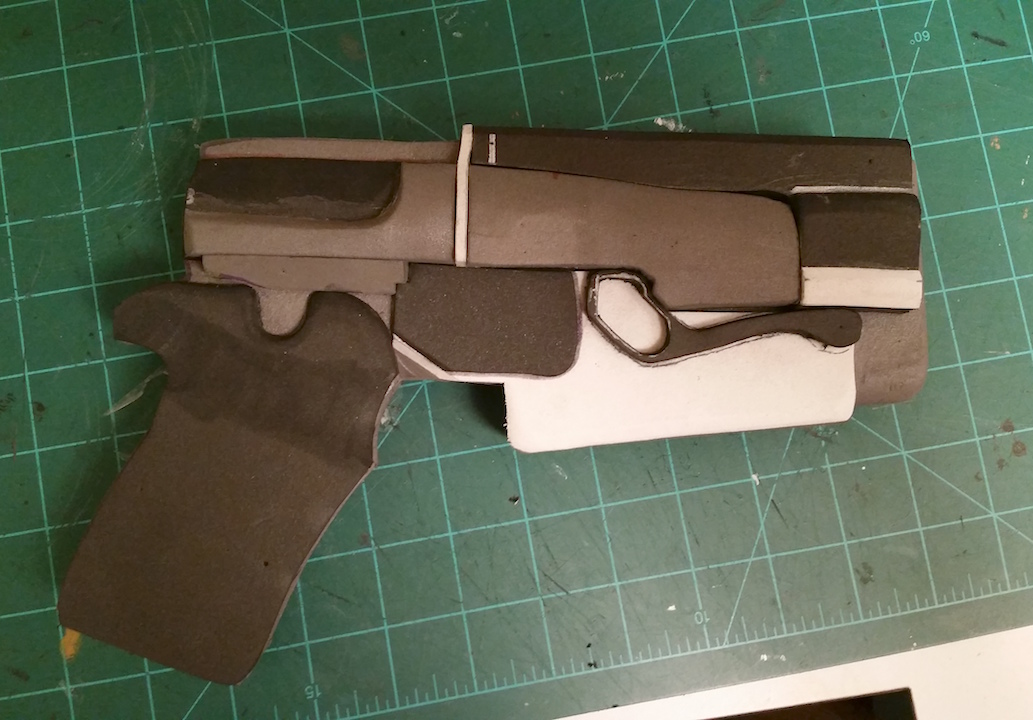 Also, here I rounded the front a bit and beveled the edged along the top.
Step 5: Small Bits and Details
The thing in this first picture was made from 2 pieces of 6mm craft foam. Then I dremeled the indent with a rounded bit and shaped it some so it would fit properly.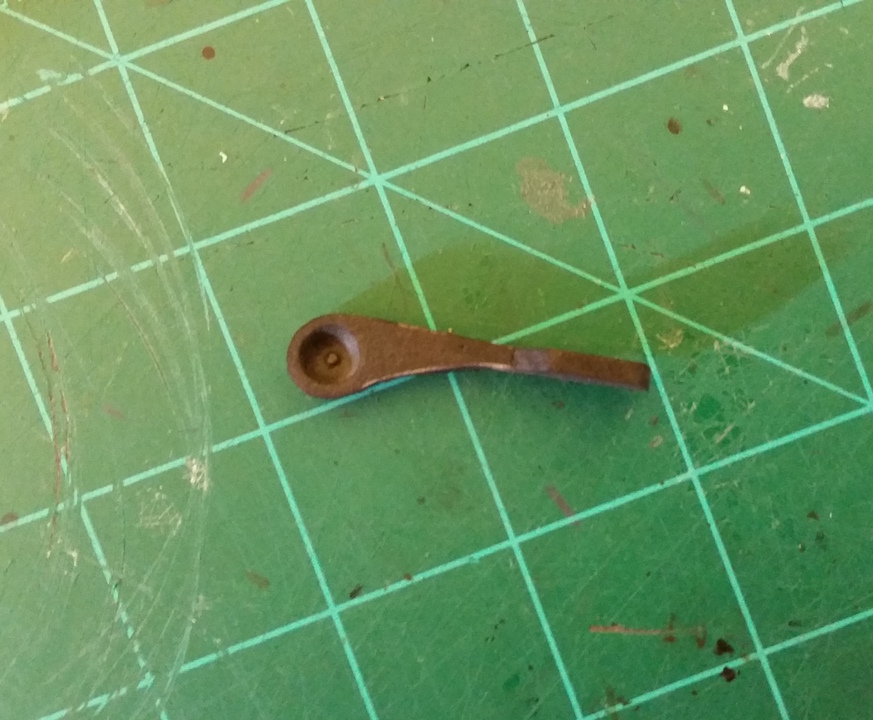 For these small rivet looking bits I used “escutcheon pins”. There were just superglued into place, and I also used some wire. I just had this lying around so I’m not positive what size it is. It’s steel wire and it was the right size though. I just cut small sections and bent them into shape, then rounded off the ends with the dremel.
  These were also superglued into place.
Step 6: More Small Bits
For this thing on the bottom of the magazine I used 2 layers of 1/2″ foam. The indent was just dremeled with a round dremel bit. The front sight is a piece of 2mm craft foam, with a piece of 4mm on top.
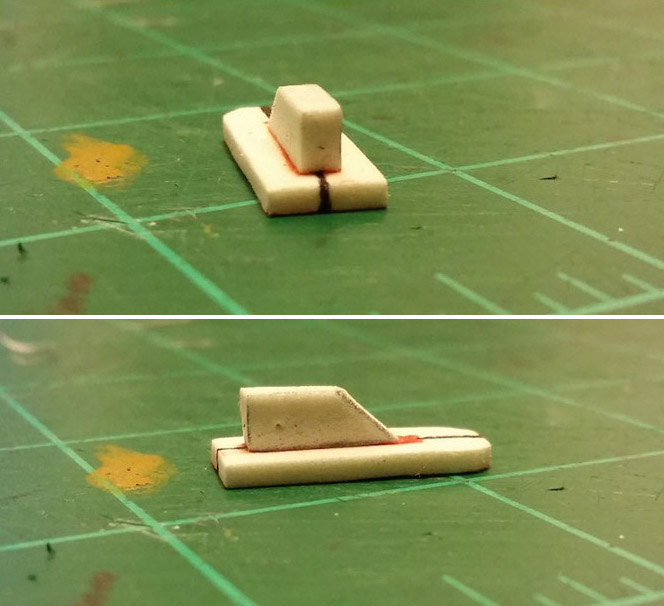
Step 7: Even More Small Bits!
 To make this disk thing I used the cap of a fine point sharpie. I just pushed and twisted in on some 2mm craft foam and it cut out a perfect circle! Then I added a small strip of foam on top.
Step 8: Trigger Guard
The trigger guard is made from a strip of sintra. 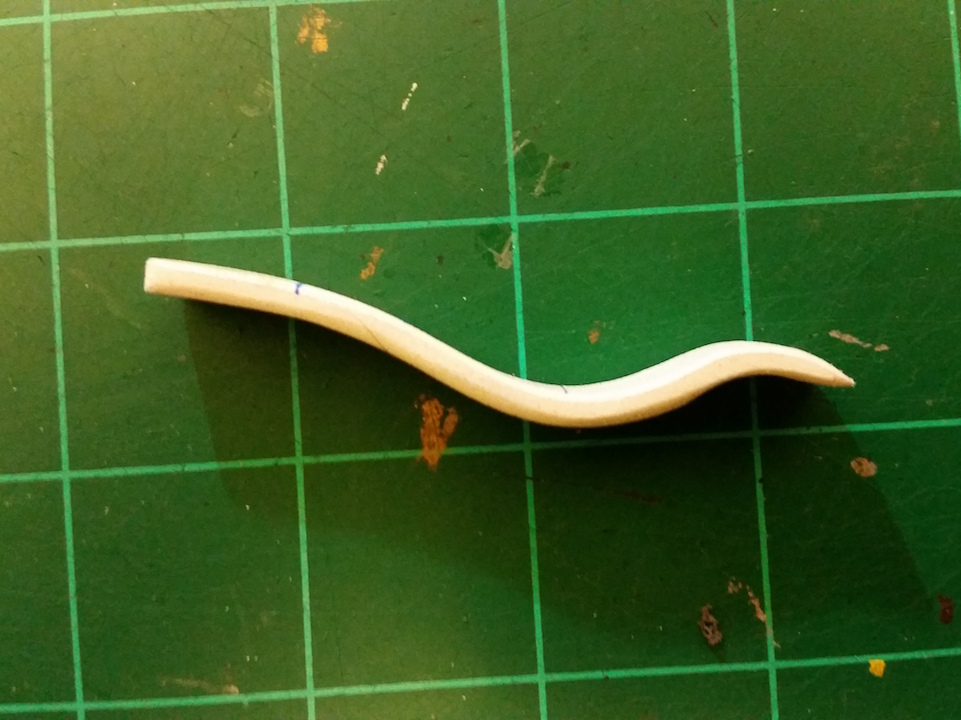 This could be foam as well, but I like to spin my prop guns and sintra is more sturdy for that.
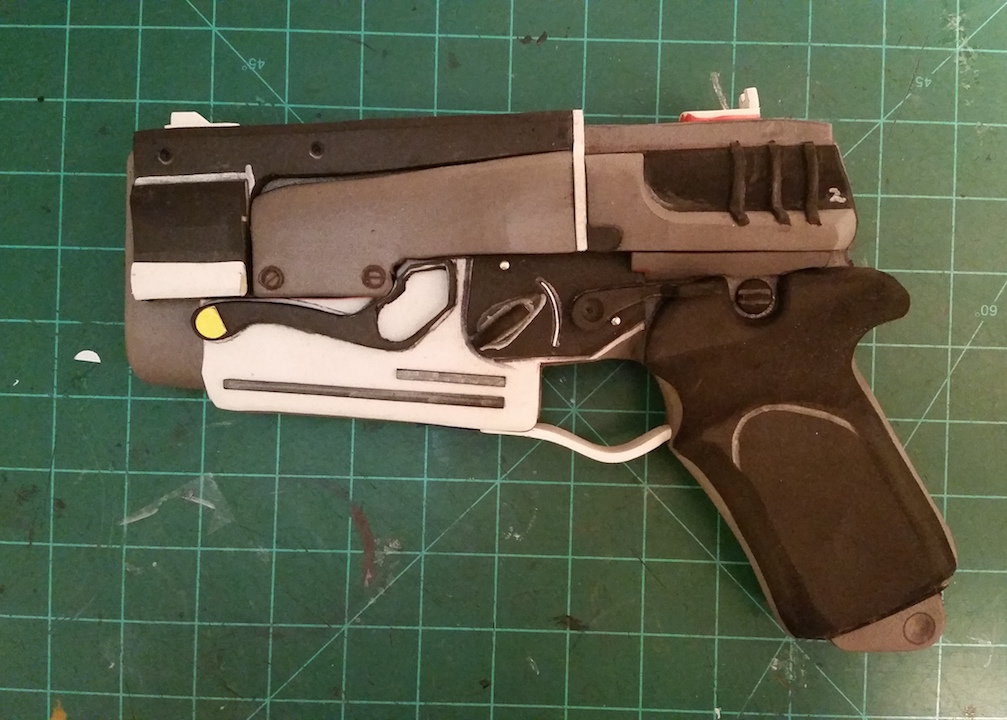
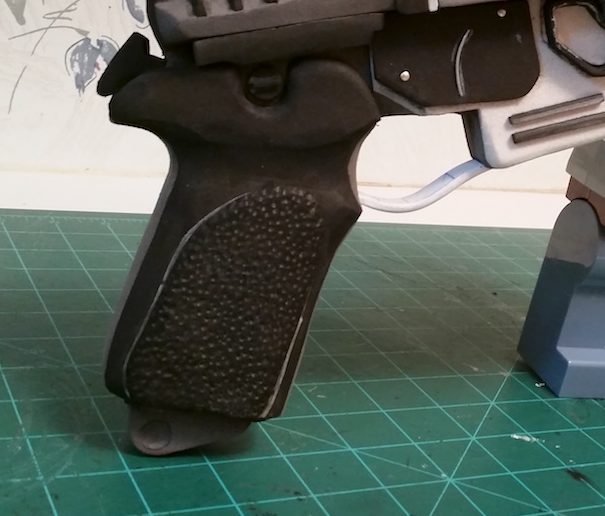
Step 9: Grip Texture
The grip has this textured section. For that I cut out the shape in 2mm craft foam, then beveled the edges.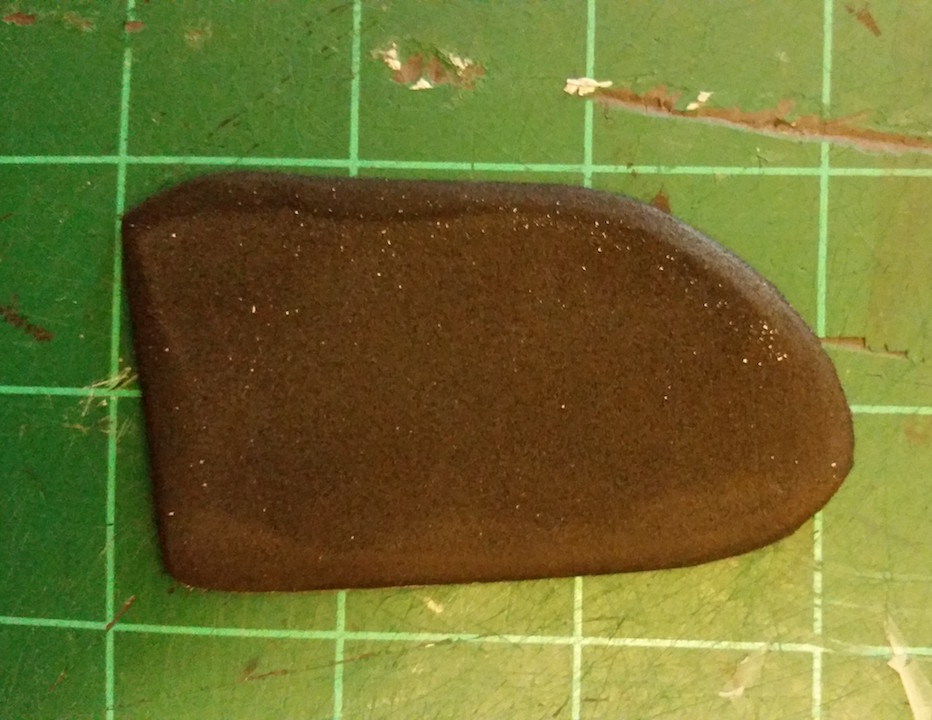 To get the texture I used this small bit and poked it a bunch.
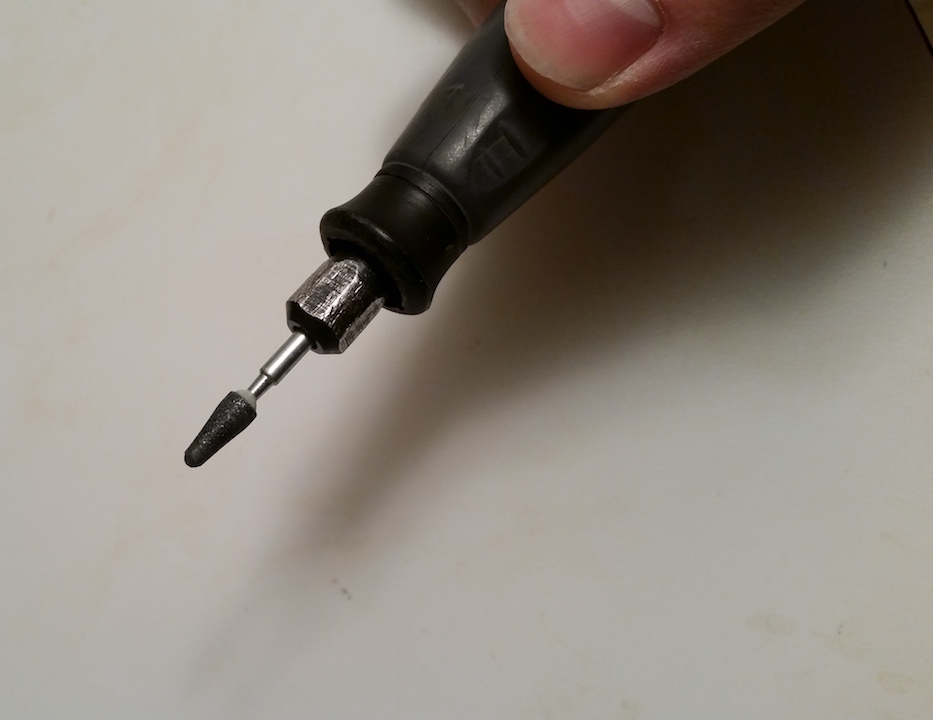
Step 10: Final Details
A hole was dremeled out for the barrel and then a piece of 1/2″ CPVC pipe was glued in.
The Hammer is 2 layers of 6mm foam. I also dremeled out some details in the back here.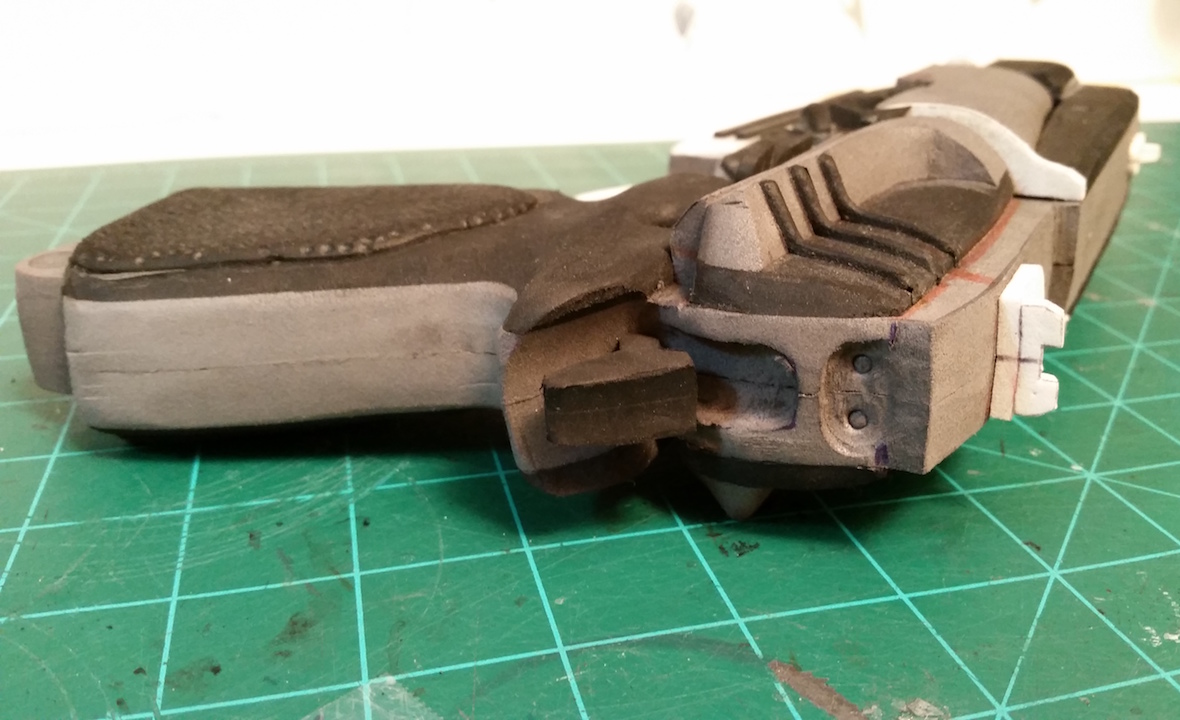
Step 11: Sealing
For painting I used this trick I learned from Bill Doran over at Punished Props: just wrap some wire around a screw and screw that into the barrel.  Since the inside of the barrel is painted black anyway, it doesn’t matter if there’s a hole poked in it.
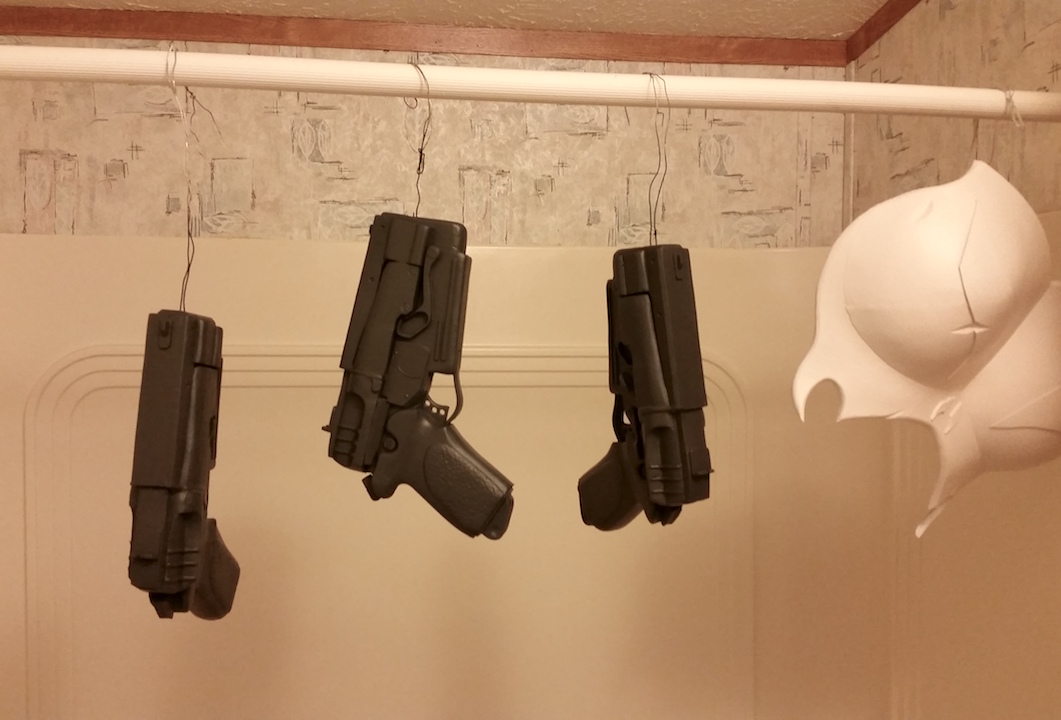
I just sealed these with Plastidip, alternating grey and black. Here’s my high tech drying rack: the shower.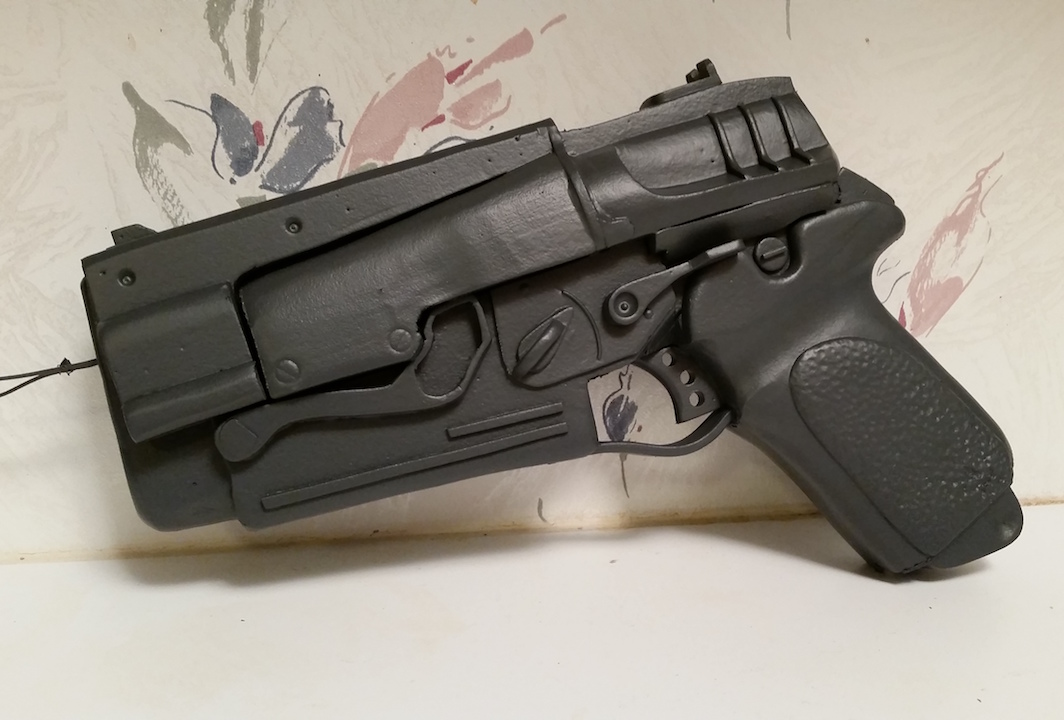
Step 12: Painting
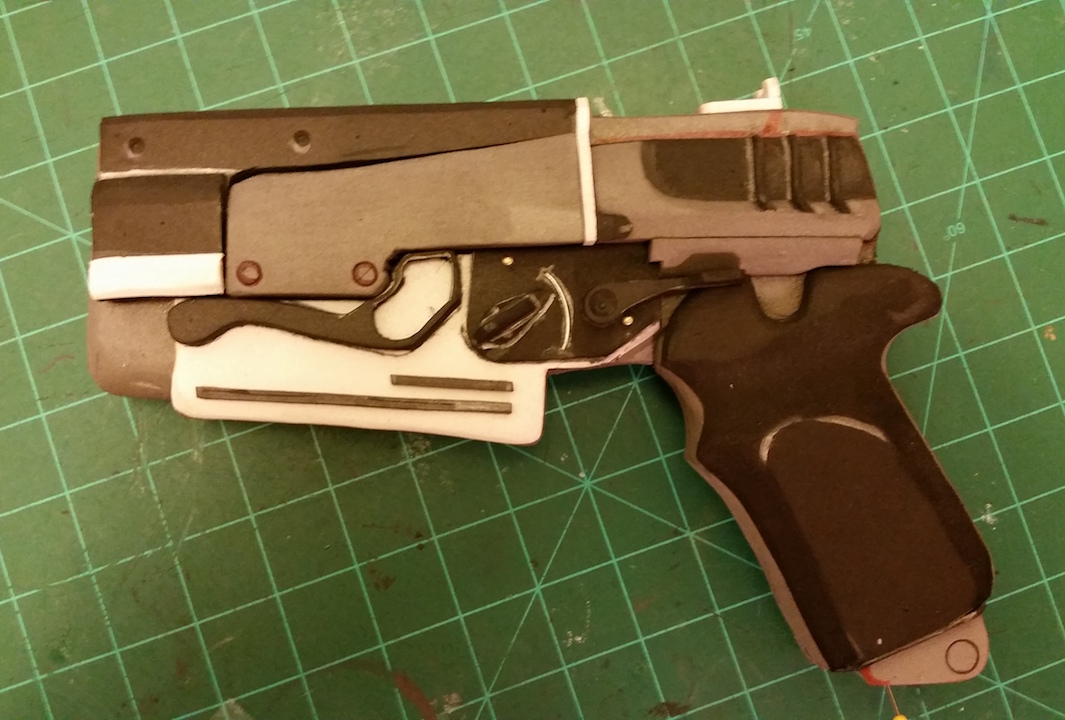
After Plastidip, I base-coated it with a flat black Rustoleum. For the silver I used Design Master: Modern Metals Champagne Silver. I like this silver, but this paint tends to have problems becoming cloudy and white. Sometimes warming the cans up in water helps, but not always. I usually just try to do very light coats and hope for the best. 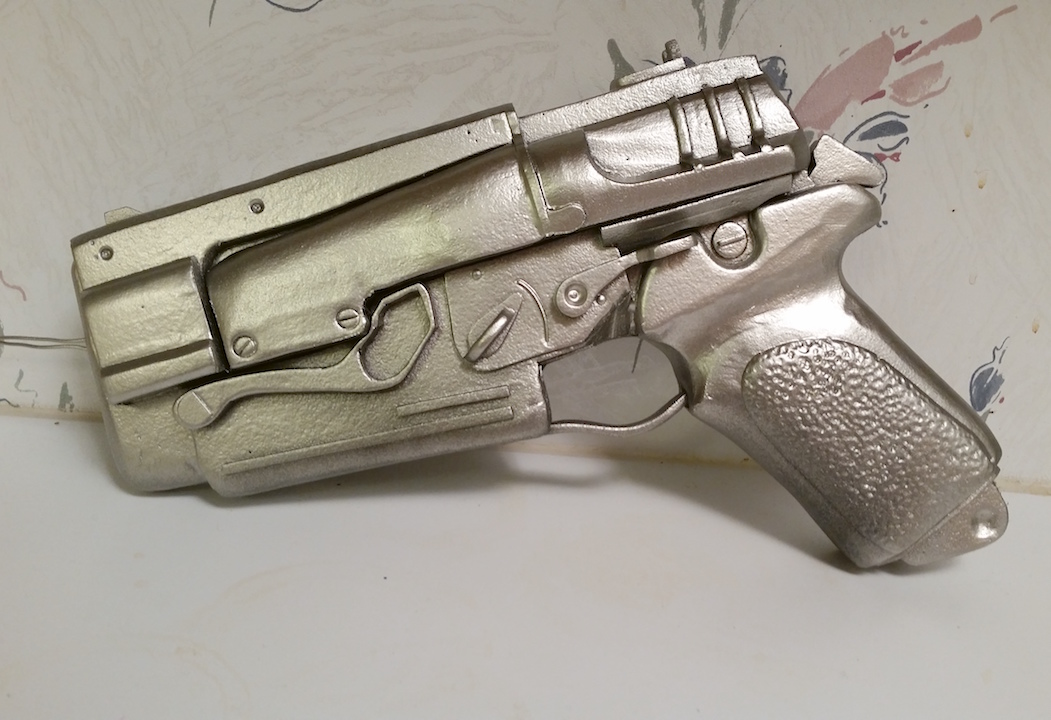 The grip was painted with Krylon leather brown. Then I clear-coated with a flat clear coat. My preferred clear coat is Rustoleum.
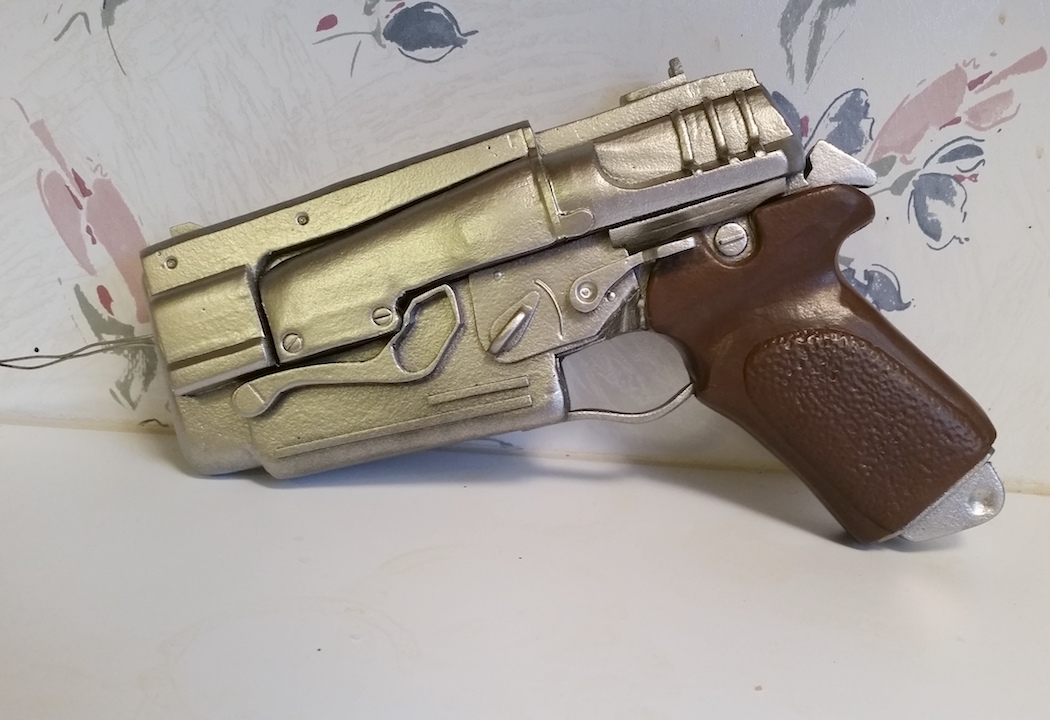
Step 13: Weathering
Then on to weathering! I forgot to take progress pictures for each stage of this, but basically I added black and dark brown washes to darken it up a bit — this is just some paint mixed with water, slathered on the gun, and the most of it is wiped off. Then burnt sienna mixed with some brown for “rust”. I also did a very dark blue (almost black) wash in a couple sections. 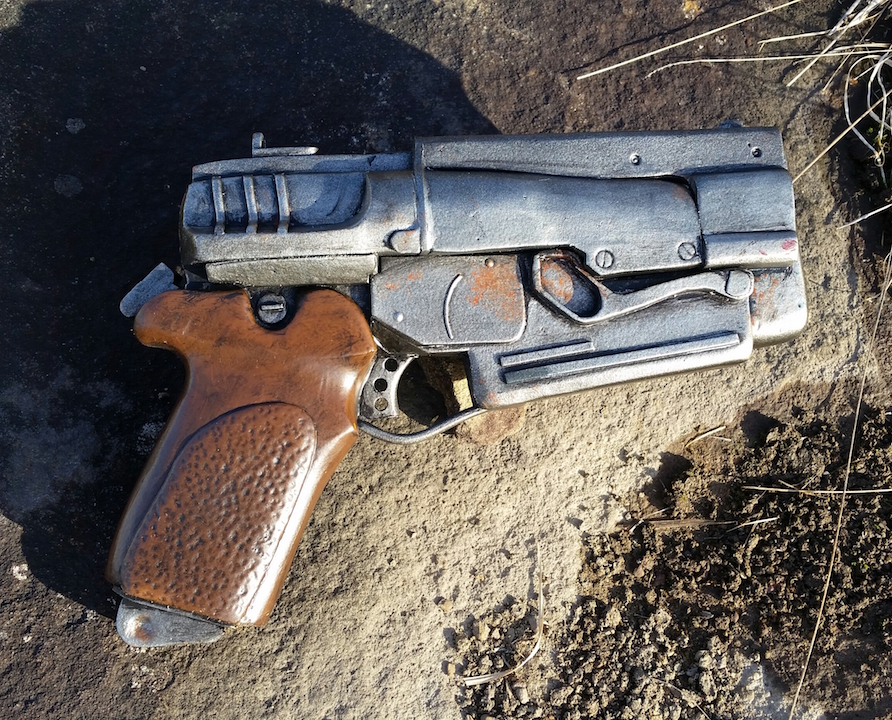 Finally a bit of red for blood spatter. Then another coat of flat clear coat.
  And you’re ready to go!
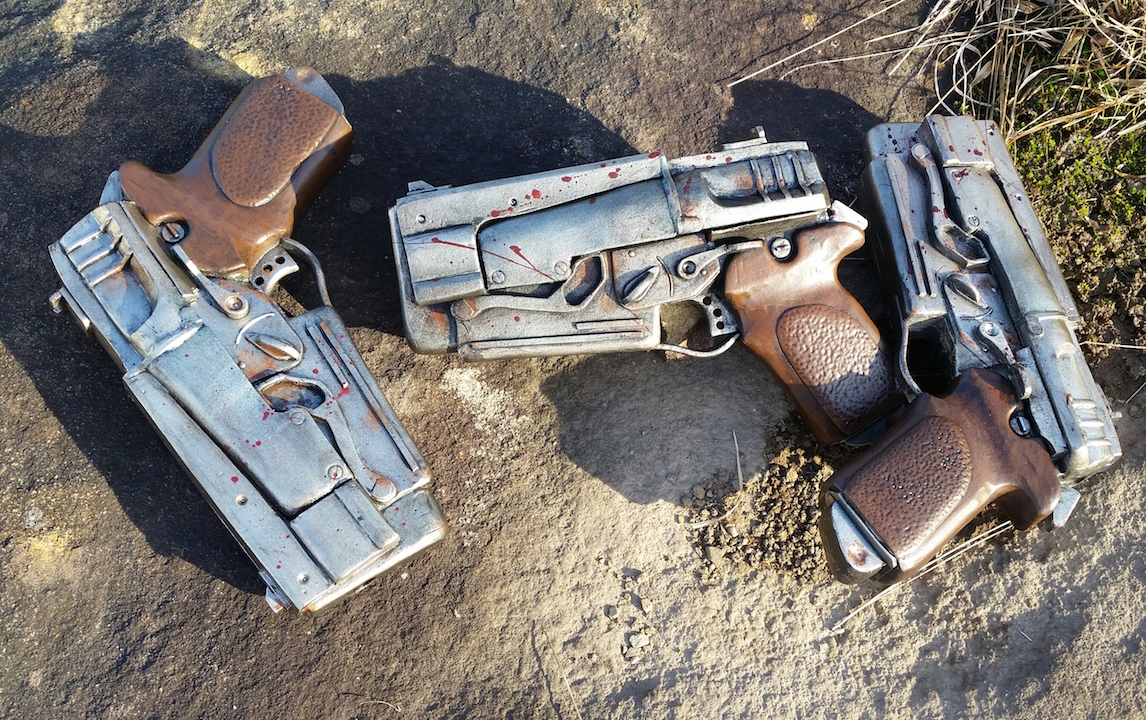
More of Bio Cosplay’s work can be found here.