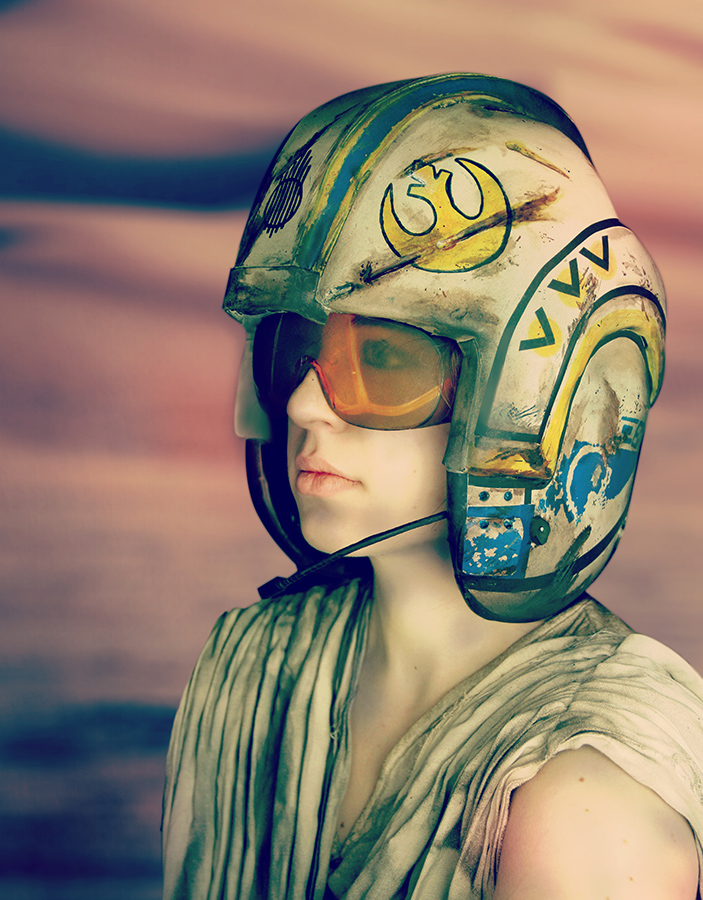
Captain Dosmit Raeh of the Tierfon Yellow Aces
Courtesy of Aaron Rabe & Rachel Havey
Awaken your creative force and build your own battle gear from the latest installments of everyone’s favorite space fantasy!
MATERIALS
Military helmet
Safety Glasses
Foam – 1/2 inch thick
Craft foam
Hot Glue
Hot Knife
Exact-o
Scissors
Heat Gun
Plastidip
Tan Spray Paint
Blue Spray Paint
Red acrylic paint
Yellow Acrylic Paint
Black Permeant Marker
Wire
Electrical Tape
Painters Tape
Use reference images to get the best results.
STEPS
1 Cut out 1/2 inch foam template of base pieces. Hot glue bottom foam shape to helmet base.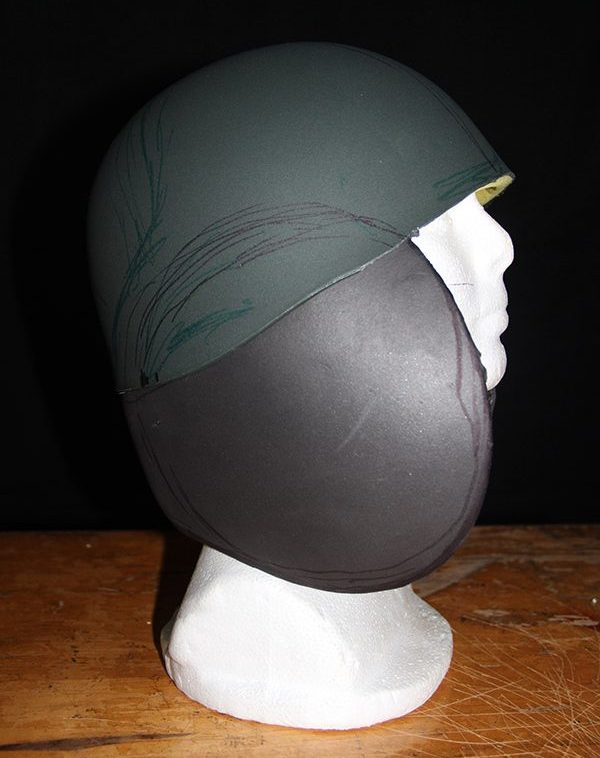
2 Hot glue middle long piece from front to back.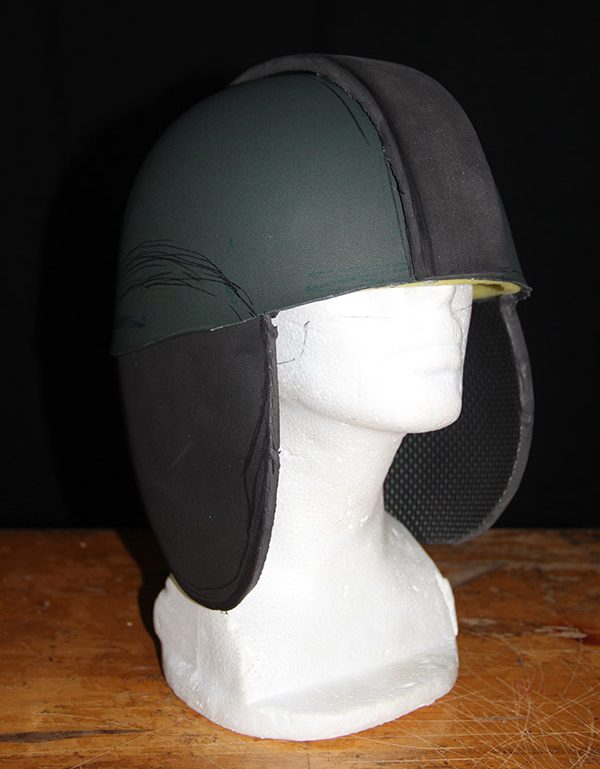
3 Layer this middle piece until desired thickness is reached. We used 3 pieces of 1/2 inch foam and carved down the top.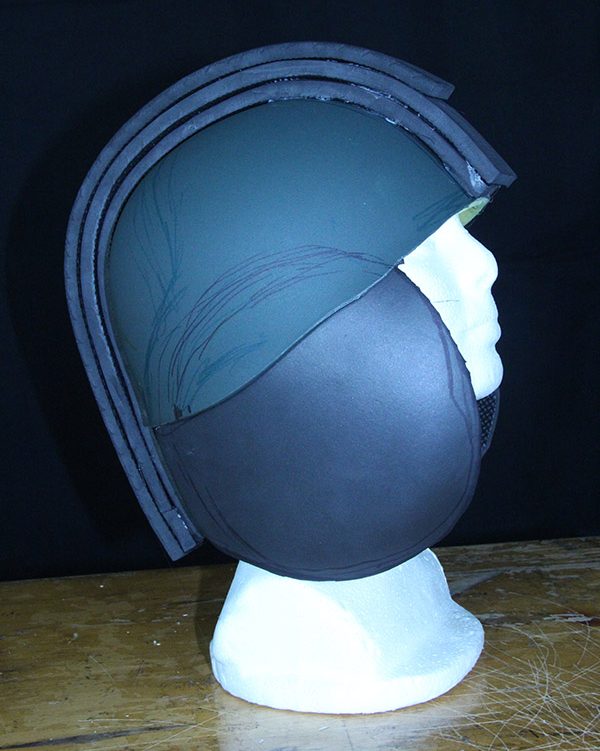
4 Heat shape the top large detail layers of the helmet. Hot glue top side layers to either side. Using an exact-o or hot knife, shave down the edges of the foam for a clean base.
Add small additional pieces to the back base of the helmet for more detail.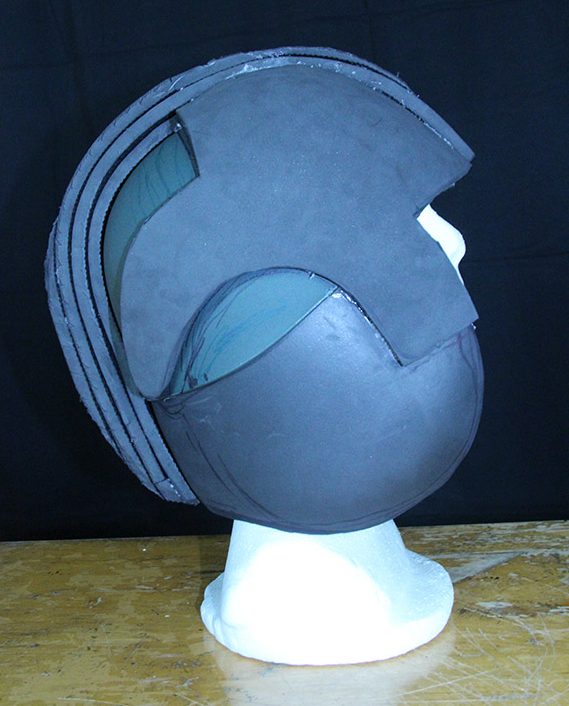
5 Tape off different sections and spray adhesive the craft foam for a stretched clean finish.
Make sure you have a large enough piece of foam, or just piece together smaller craft foam and add battle damage to the seams. This will hide the fact its multiple pieces.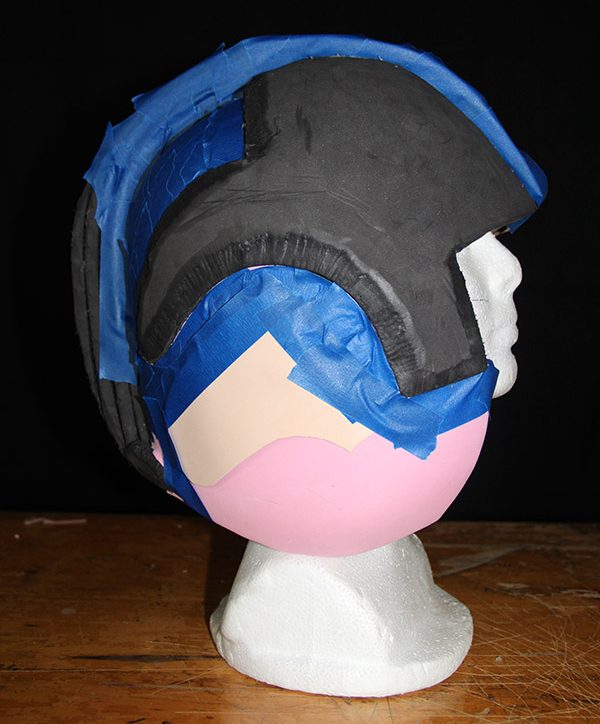
6 After you have covered the whole helmet in thin craft foam, cut out two box shapes of foam and add them below the top curve detail by the face.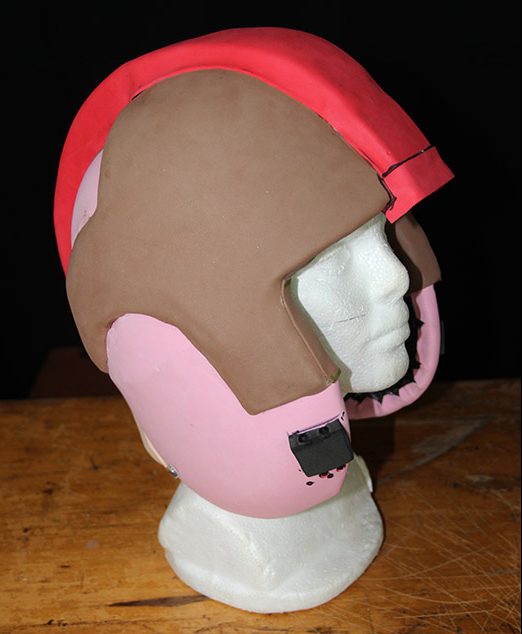
7 Now you’re ready to Plastidip! Plastidip the whole helmet. We recommend doing this multiple time; just wait until it dries to do the next coat. Use as directed.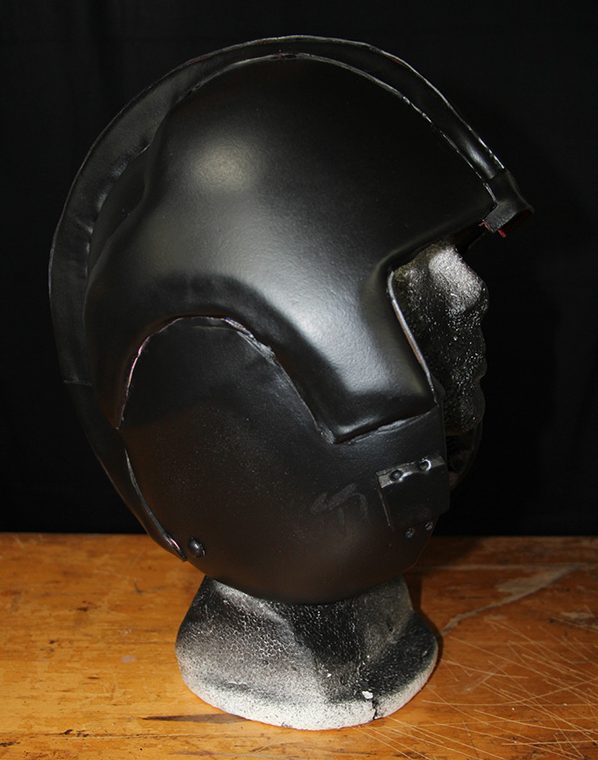
8 After the Plastidip has dried, cover the whole helmet in Blue spray paint and let dry. Then place liquid latex onto the parts that will be blue (just the chipping parts of Rey’s helmet).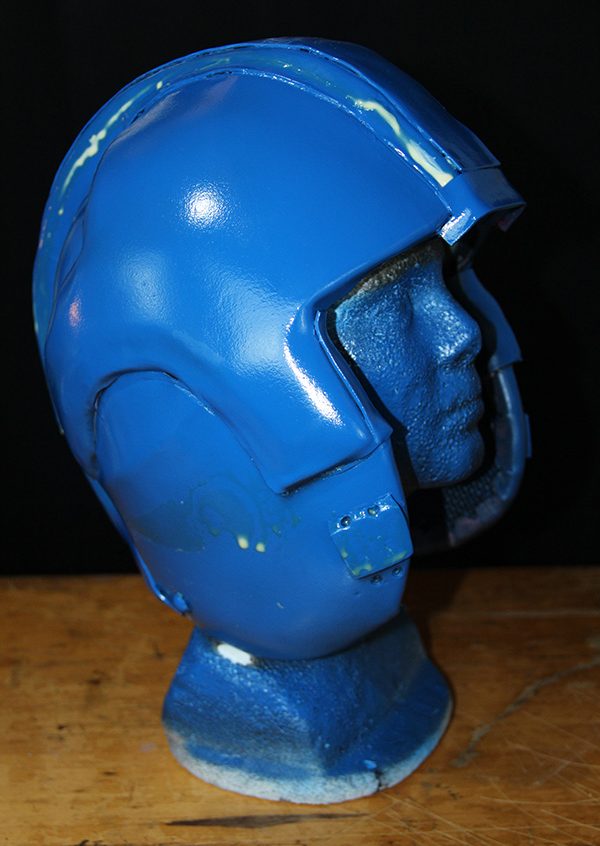
9 Cover the helmet in Tan spray paint and let dry.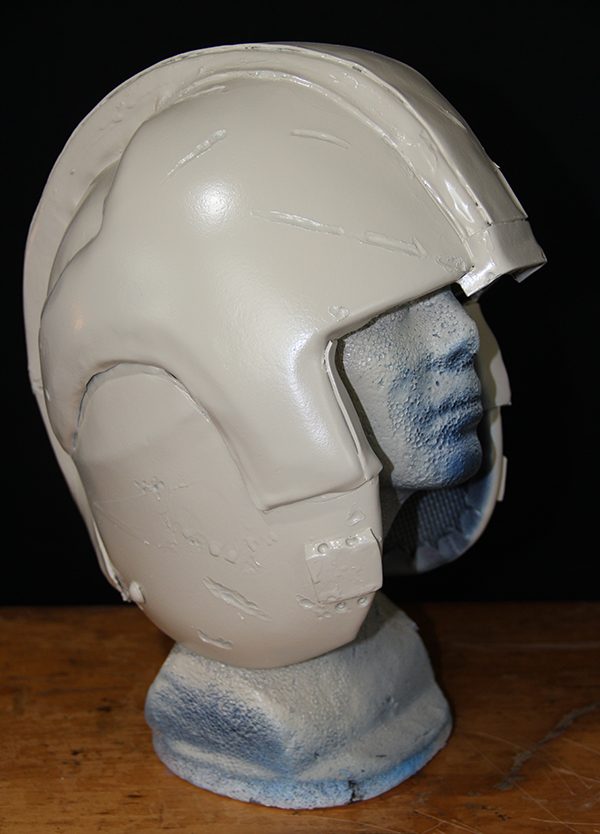
10 Pull away the latex to show a chipping effect from tan to blue.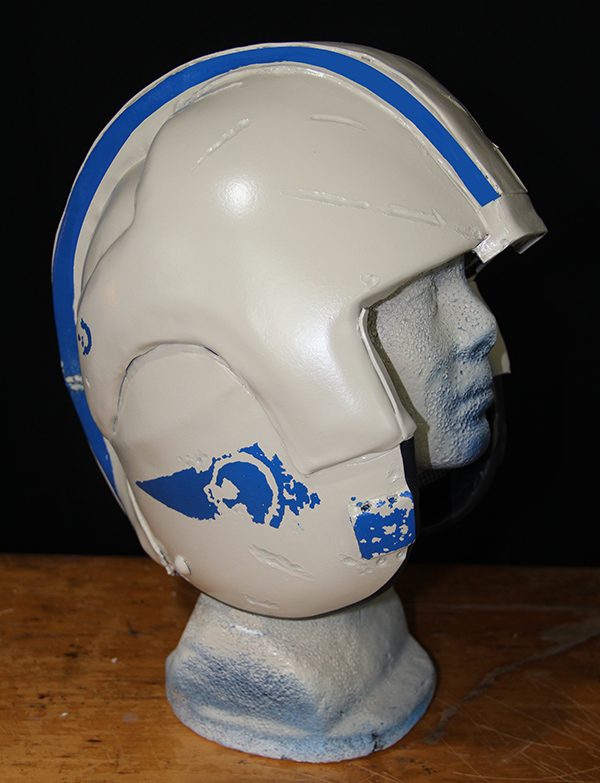
11 With painters tape, tape off the different sections and paint in the detail with acrylic paint. (Rebel Symbol, Line down the middle piece, details and V shapes on side layers, etc.)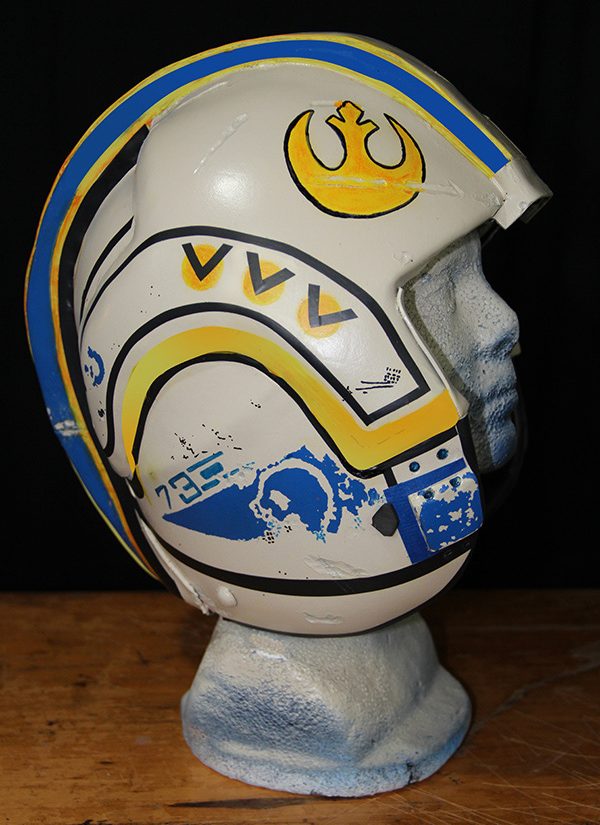
12 Use thick wire and wrap it in electrical tape. This will be your speaker/mouth piece. Glue the mouth piece and safety glasses into the helmet. Add a torn piece of nylon on the inside to represent where the chin guard was.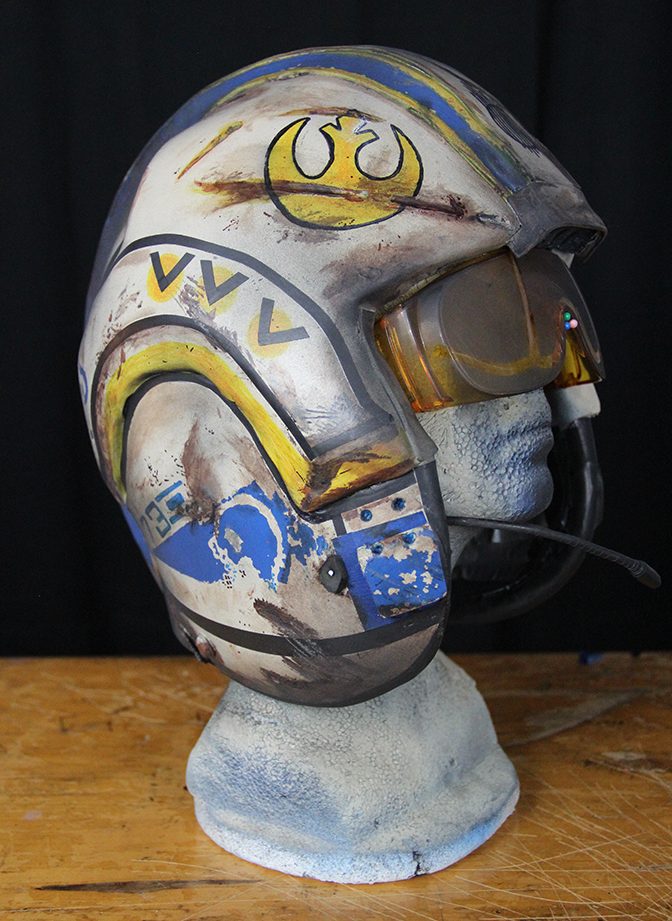
Now that your helmet is finished, use flat brown and flat black to dirty it up. You can also use dirt, sand, or any tinting agent (tea, coffee, etc.) for this task. The more used and distressed it is the better!