
by LoriAnn
photography by Dan Howell
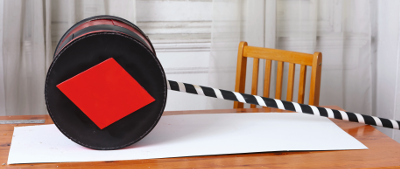
Our weapon of choice for this DIY is the infamous over-sized sledge hammer, the perfect complement for a Harley Quinn cosplay at your next Con.
Materials:

• Two hat boxes 13″ each
• One 40″-65″ pole
• Spray paint—one can each of white, red and black
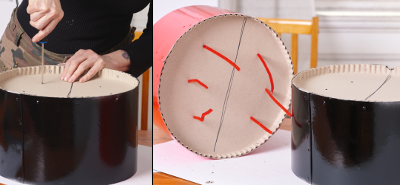
• Pipe cleaners
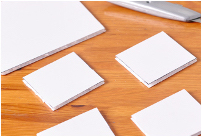
• One 1/4″ sheet of foam core
• Duct tape
• One-inch vinyl electrical tape (recommended: yellow or blue)
• Hot glue gun
• X-Acto® knife
• Steel ruler
• Pencil
• Two sheets of standard letter-sized paper (8.5″ x 11″)
• Scissor
• Phillips head screwdriver
Instructions:
• Paint the pole completely white. Leave sit to dry.

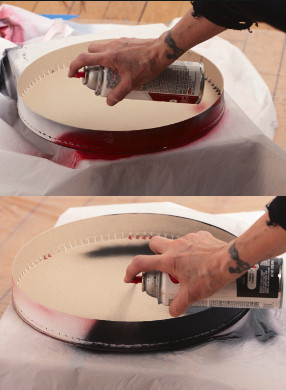
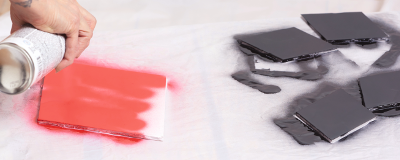
• While pole is drying, separate the lids from the boxes. Paint one box red and the other black. Do the same to the lids.
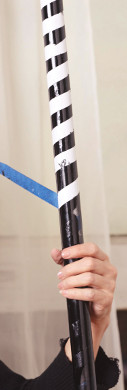
• Once the pole is dry, starting from the top, use the 1″ vinyl electrical tape to wrap the pole in a “candy cane” look. Once tape is secured in place, re-paint the pole black. Set aside to dry.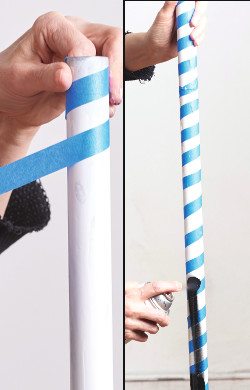
• When the box lids are dry, turn them on their “head” and paint the “lip” of the lid the opposite color of the top. (red rim on black top, black rim on red top)
• Once pole is dry, remove tape and set aside.
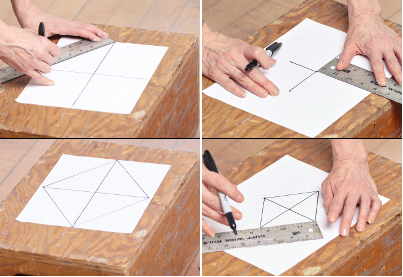
• Make stencils for diamonds: Find center of paper. Draw an 11″ vertical line through the center point (equal parts up and down from center) Draw an 8″ horizontal line through the center (equal parts from center). Connect end points to create diamond. on a new piece of paper, again find center. Draw a 5″ vertical line equal parts from center. Draw a 4″ horizontal line through the center point, equal parts from center. Connect end points to create diamond. Cut out diamonds. Place large diamond on the foam core, trace and cut out with X-Acto® knife. Place small diamond on foam core. Trace out four small diamonds and cut out with X-Acto® knife. Paint the large diamond red. Paint all four of the small diamonds black.
• Take black lid top. Find the center point and mark it. Measure up 5 ¼” and mark and same down. With glue gun, put glue on back of red diamond, line up points and press onto lid. Take red lid top. Find the vertical diameter line. From center point, mark up and down 3/4″. Do the same horizontally. Place the four black diamonds on the lid evenly, using the marks you just made to line up the inside points. Glue to lid.
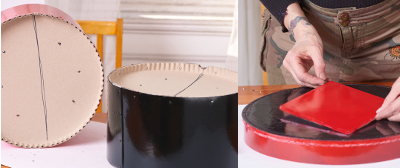
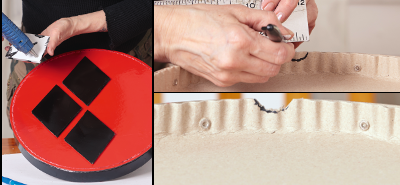
• Take the box bottoms. Cut a half moon ½” deep and just short of 1″ wide on bottom rim of each so that when they are put together they form a circle (the pole will later go through this hole). On the inside of one of the box bottoms, mark three points, about 2″ from edge, along each side from the hole, evenly spaced, six marks altogether. Put the bottoms together, so cut-outs line up to form hole. Push Phillips head screwdriver through each mark, going completely through both bottoms. Put a pipe cleaner through each hole, equal amounts seen on each side. On one box bottom, duct tape the pipe cleaner down. On the other bottom, pull pipe cleaner tight and lightly tape.
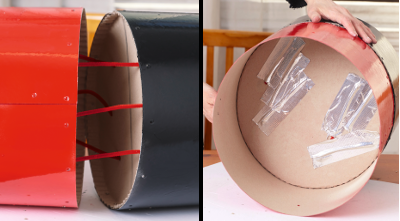
• Keep bottoms lined up. Heavily glue around the hole and bottom of pole. Place pole in hole, pushing it all the way down to the opposite bottom edge.
• Go back to the pipe cleaners that were lightly taped. Make sure they are pulled tight enough that everything is lined up correctly and secure tape down tightly. Glue around the hole again.
• Place glue along inside rims of lids. Red lid goes on black bottom and vice versa. Hold each one in place when you attach it to make sure it is securely glued.
•* Styling by Sheila Clark
•* Hair and Make-up by Jamie Hanson
•* Costume pattern 1091 from Simplicity® designed by LoriAnn
(www.simplicity.com).