BriLan Imagery
by BIO Cosplay
I’ve had people ask how I painted my Warlock armor pieces to look like bone, so I’ve put together this short tutorial to show how I did it!
Supplies
Mod Podge
Sandpaper
Plasti Dip
Primer
Off-white Spray-paint
Brown, Black, Olive Green, & Burnt Sienna acrylic paint
The bone pieces are made out of foam floor mats. To seal these, brush on 4 to 6 coats of Mod Podge, then sand them smooth. I mainly use 220 and 400 grit sandpaper for this, sometimes 150 for rougher spots. After sanding, there tends to be a few visible brush strokes, so to minimize those, I go over it with 4 coats of Plasti Dip. This is followed by coating with primer. Now on to the painting process!
Step 1 – To start out, I used an off-white spray-paint as a base coat. I believe the brand I used is Valspar, but any off-white paint should do.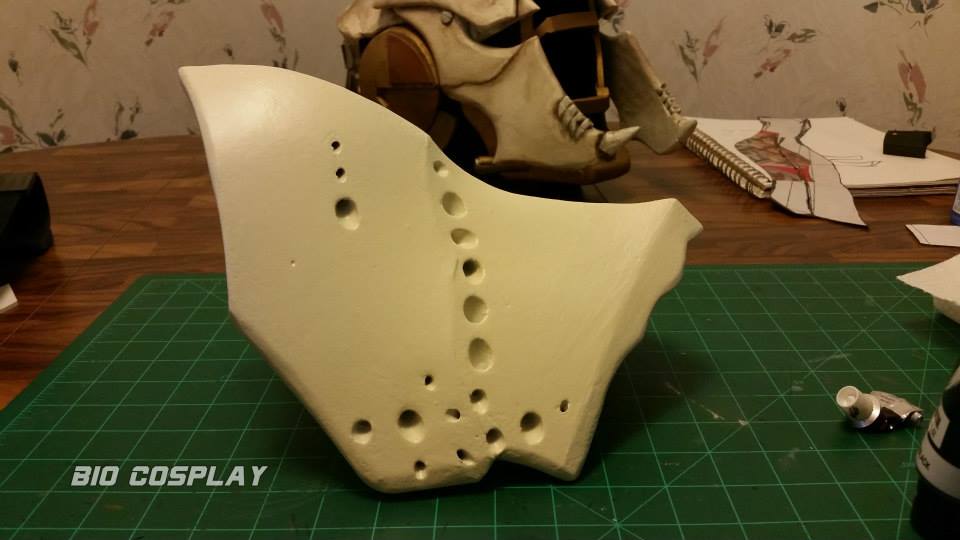
Step 2 – Next I went over the surface with a brown wash. To make my wash, I just mixed some brown and a little bit of black acrylic paint to get a dark muddy brown, then added water. The brown is brushed on and then wiped off with a paper towel. 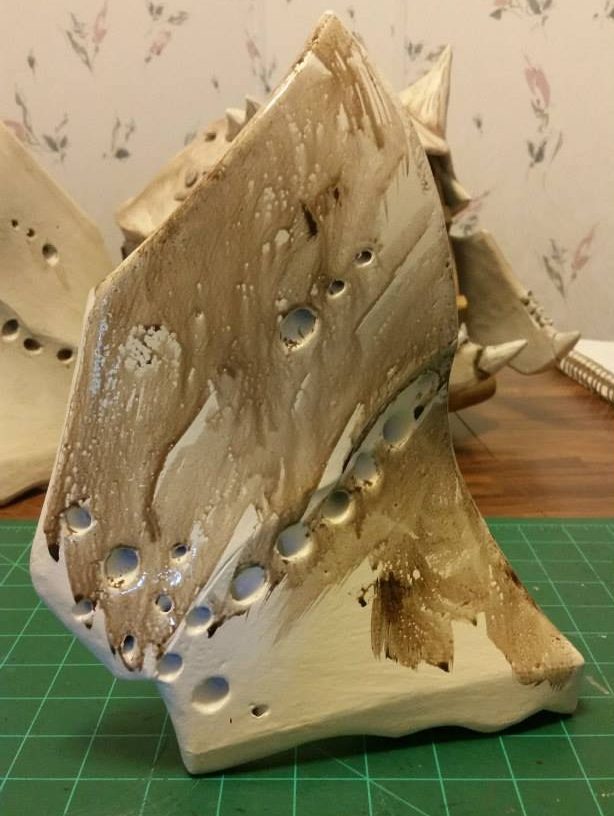 This just adds a little more brown to the white and gives it a bit of depth.
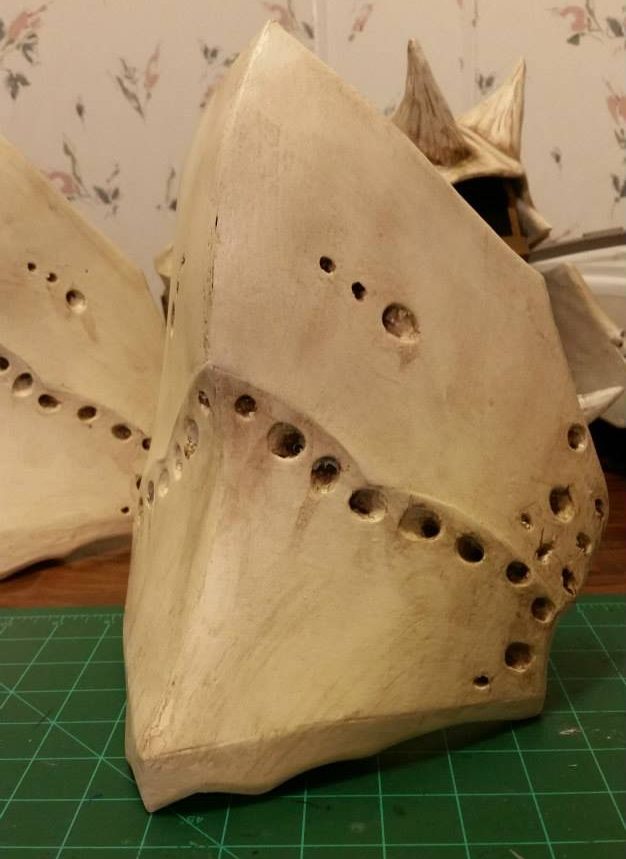 Comparison of before and after the brown wash:
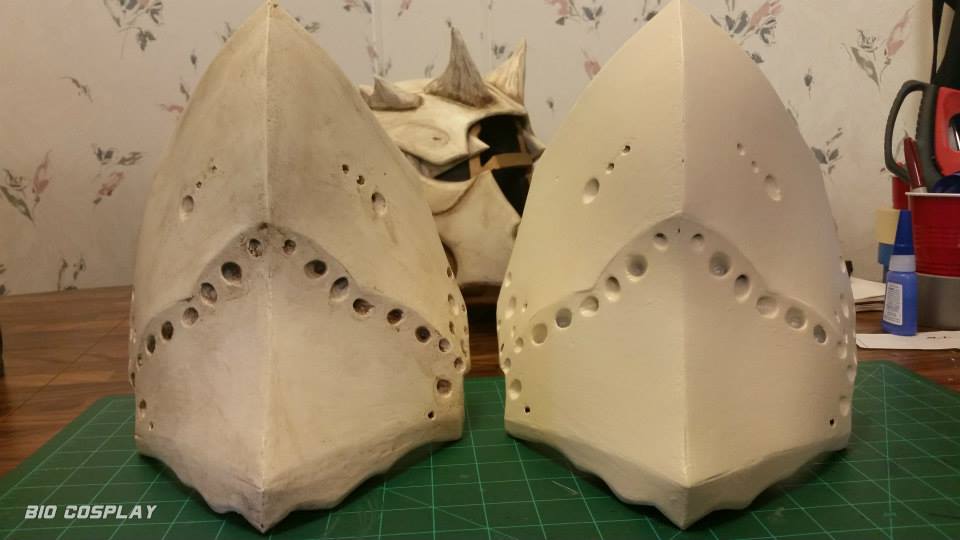
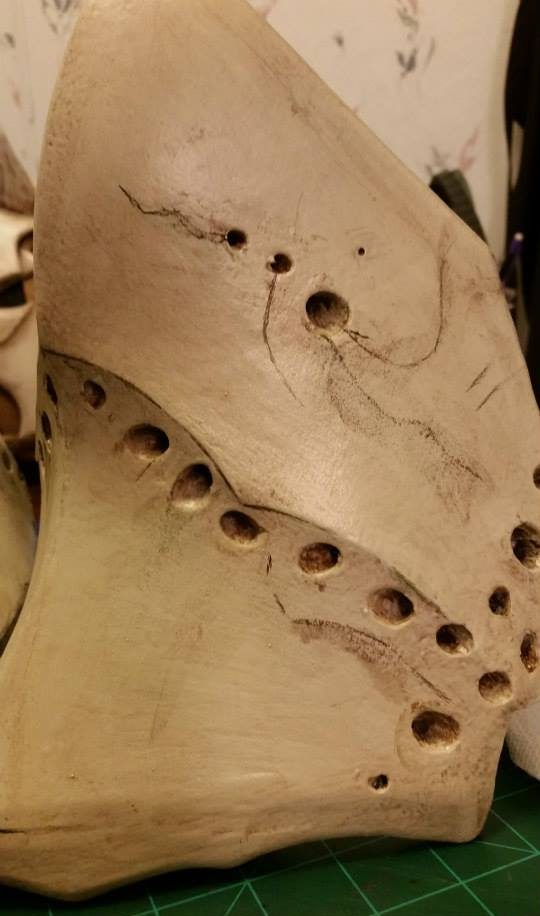
Step 3 – Now it’s time to start on the details! For the details I use dark brown, light brown, and olive green acrylic. I just mixed brown, black, green, & burnt sienna to get the shades I liked. I start by painting in detail lines with the dark brown. These lines are either cracks, edges, or shaded sections. Paint on your detail line then wipe it off!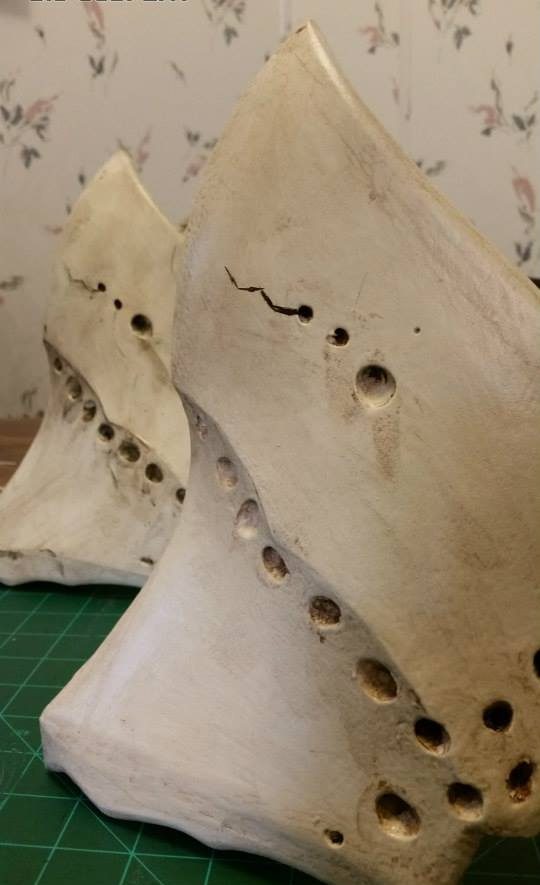 Once wiped off, some of the paint should stick and look like a faded broken line.
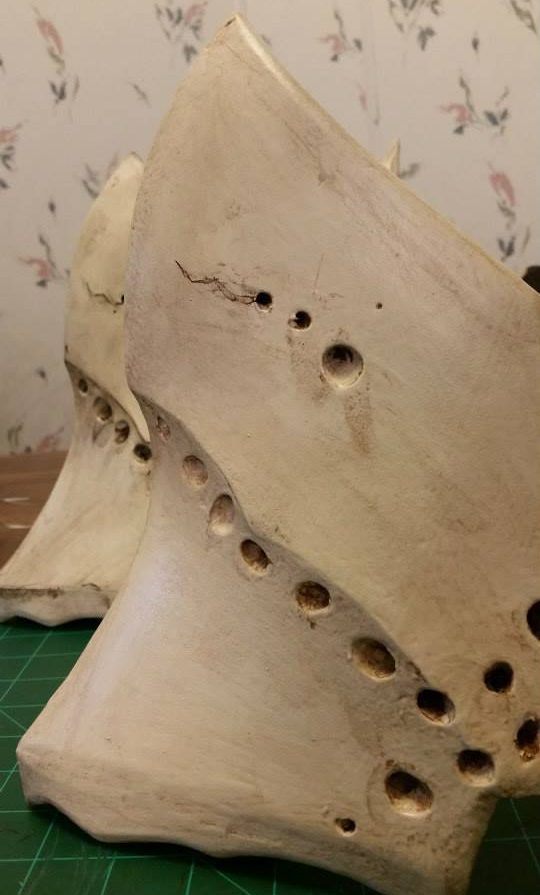
Step 4 – Continue to paint your lines! Always use reference pictures for what you’re trying to make — it helps. 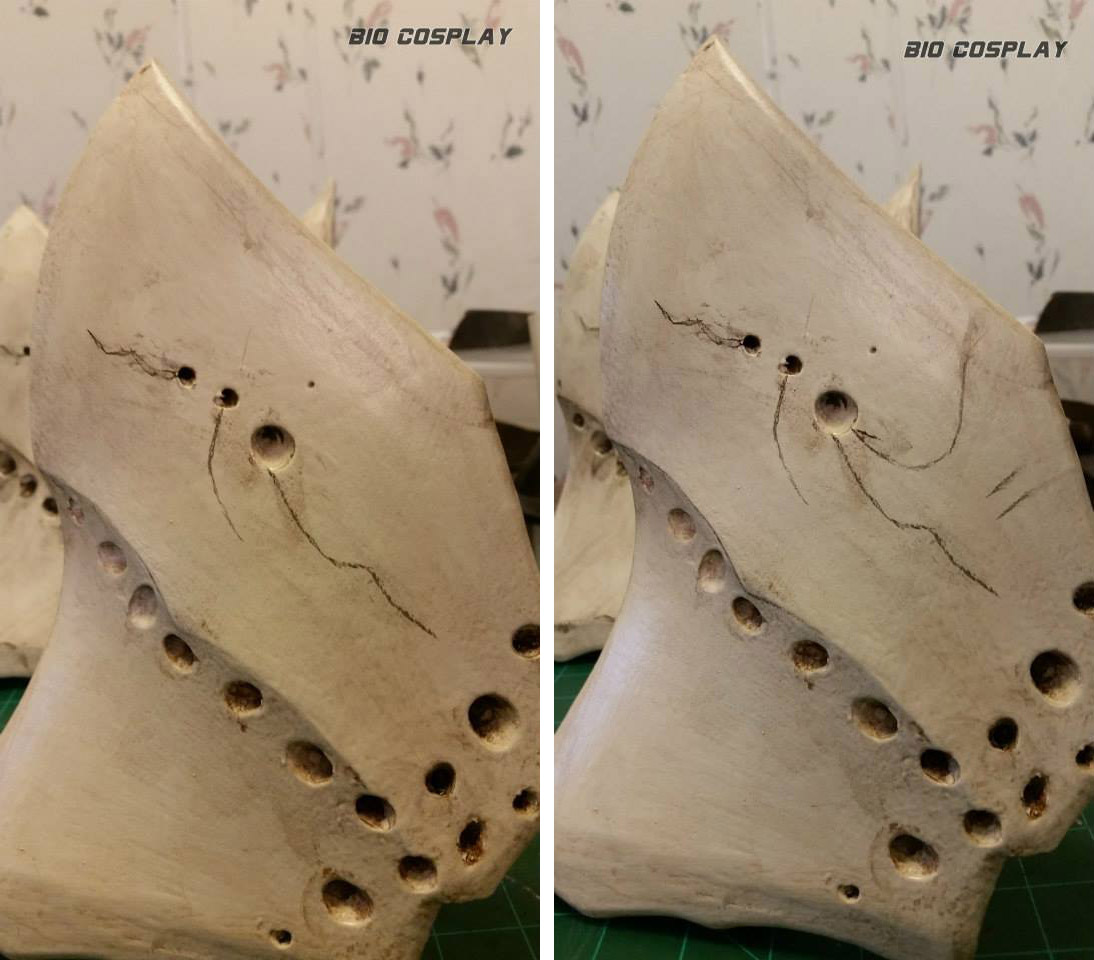
Step 5 – After my detail lines are there, I begin to do some shading. To do this, I dry-brush layers of dark brown, light brown, and green. For dry-brushing, get some paint on your brush and wipe most of it off on a paper towel. Usually I’ll put down the dark brown, then lightly do some green, and finally light brown to highlight the dark brown and tone down the green. I will also sporadically go over my details with green and dark brown to give them a bit more depth. Mainly, you want quite a few layers with varying colors. The layers will help give it more depth.
Step 6 – For these shoulder pieces I added some running paint. First, I put some paint in the area I wanted the paint to drip out of, then added water with the brush until it began to drip and let that dry.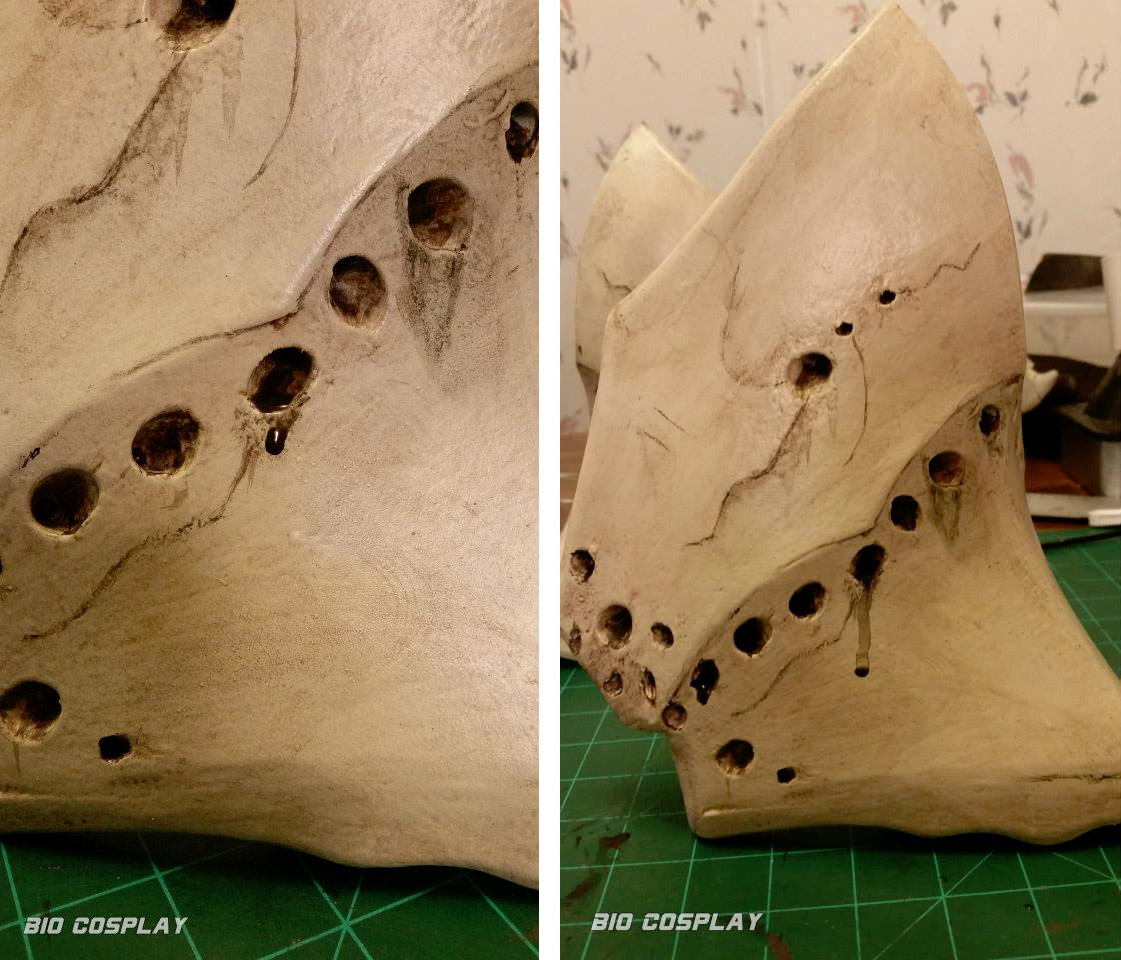 Here, the runny paint has dried. You can also see some more of the dry-brushing/shading details.
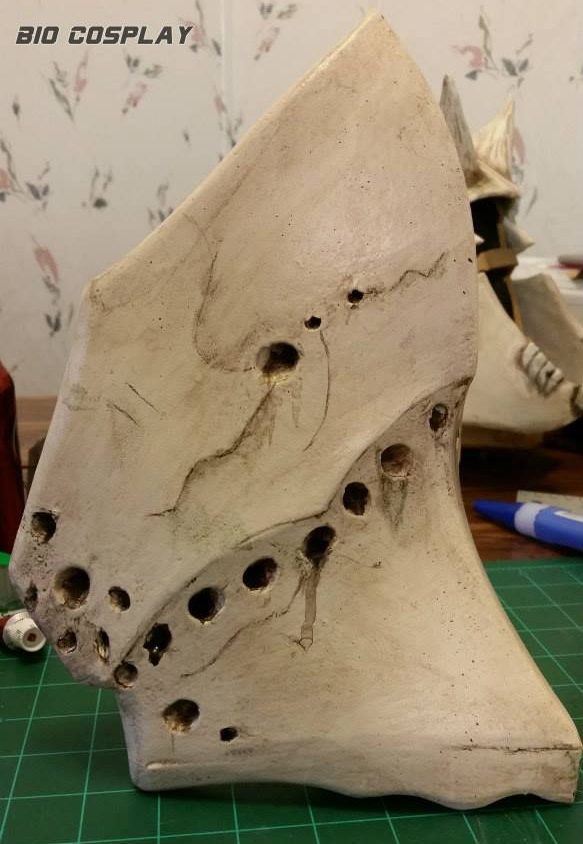
Step 7 – Finally, I did some paint splattering just to break up the white. For this, put some watery paint on the brush, then flip the paint off the bristles.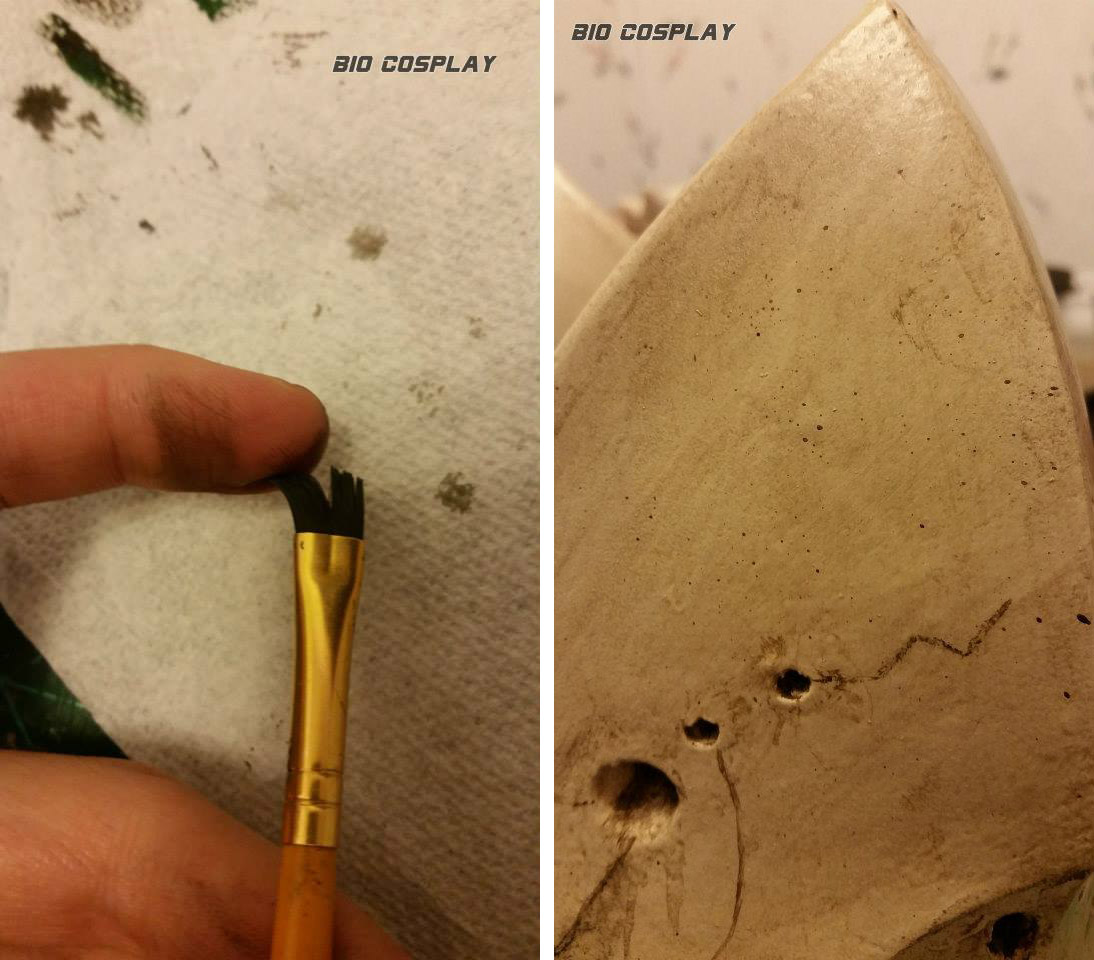
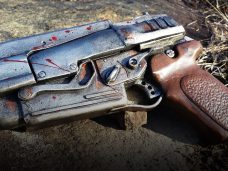
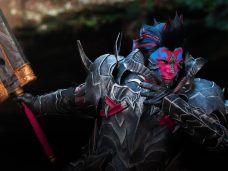
Example of a finished “bone” paint job: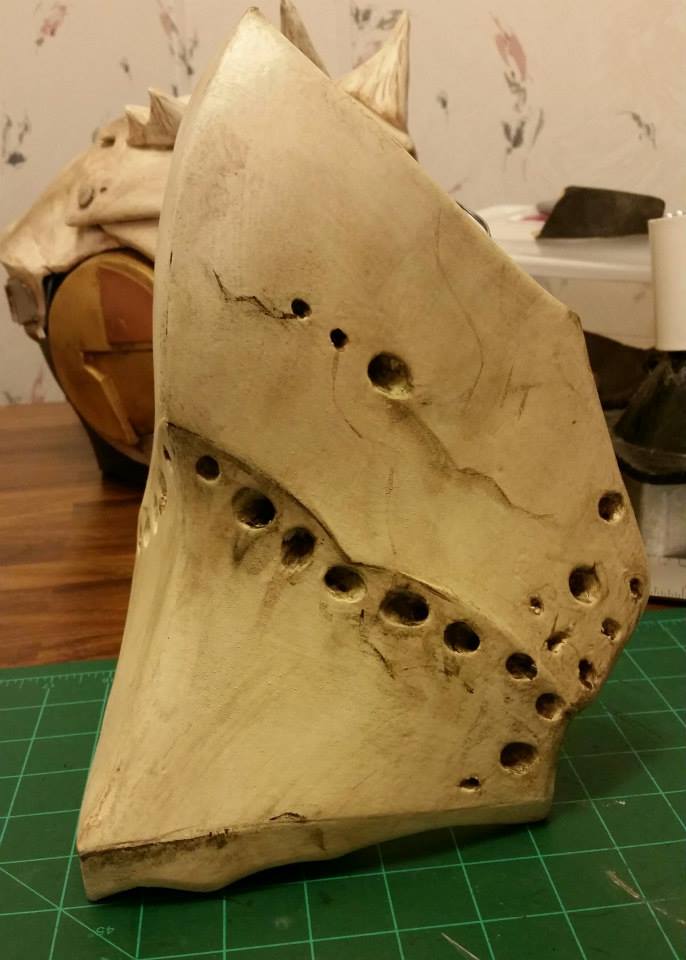
The finished product in action: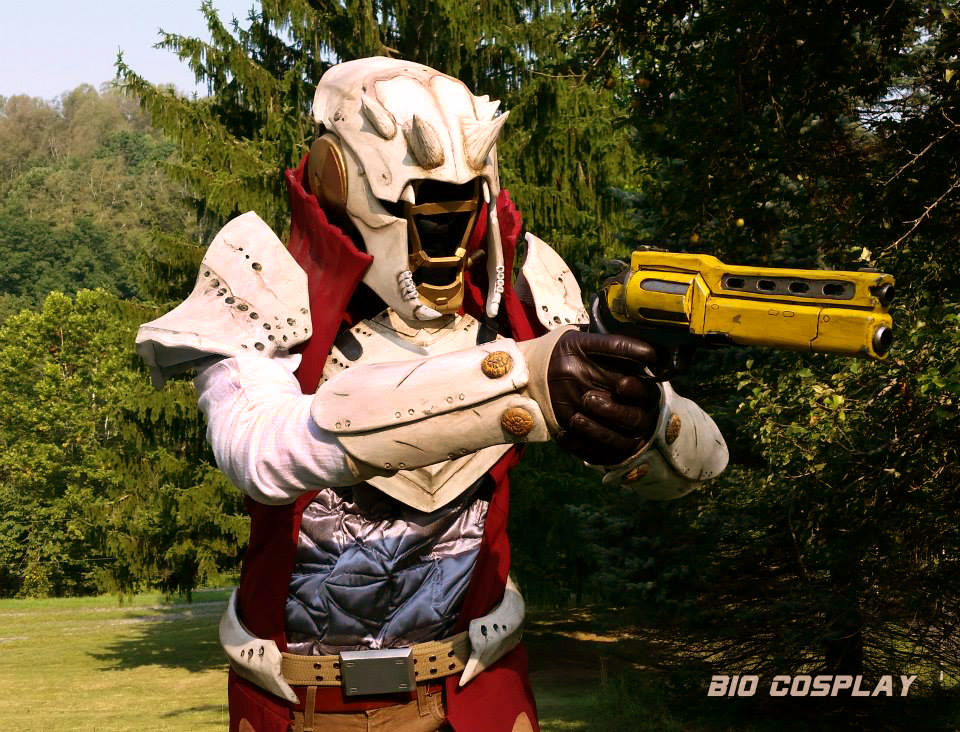
See more of BIO Cosplay’s work here